How To Use Snap Camera For Live Streaming On YouTube | Snapchat
Until a few years ago, Snapchat was one of the most popular social networks and one of the most used by iOS and Android users. Now, the snap camera has been redesigned and brought to market to use all Snapchat filters in live streaming like YouTube .
Millions of users have used the Snapchat platform for the quality of its selfie filters. Their filters were an innovation and offered something different on social media. But its biggest competitor, Instagram has understood the rules of the game and imitated the application of filters on its platform.
However, the quality of Snapchat filters is higher and now they have decided to innovate with Snap camera for Windows and Mac users. Snap Camera lets you apply Snapchat's signature filters to live videos or video calls.
How to use Snap Camera for direct streaming to YouTube
Nothing is more original than a good camera filter for making a live video. You can add a touch of personalization to the video, in addition to capture the attention of other users .

How Snap Camera works for stream directly to YouTube is very simple. Only the PC camera should be replaced by the Snap Camera program. At the time of transmission, you will have all filters Snapchat app for use on YouTube.
For this to work before, it is necessary to configure the live streaming function on the YouTube channel.
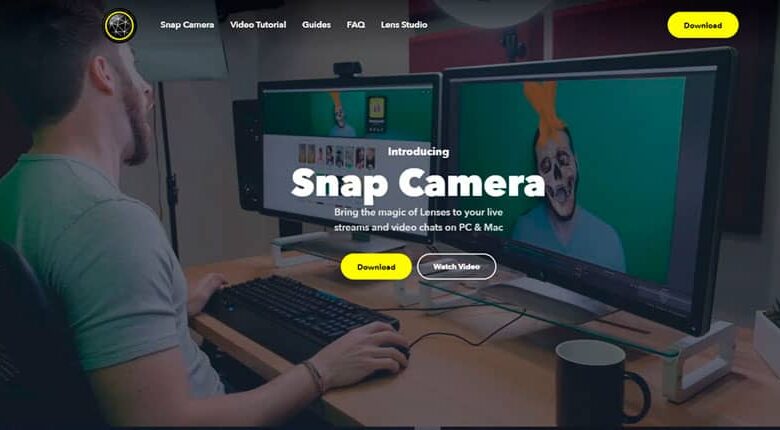
- The main thing is to download Snap Camera from its official page.
- Accept the privacy agreement and leave your email in case you want to receive any information about Snap Camera.
- Once the installation file is downloaded to the PC, proceed with the installation. It's quite simple and intuitive, in a few minutes, Snap Camera will be installed.
- When you open the app for the first time, an introduction appears that briefly explains how the app works. Snap camera . When you're done, just hit the Finish button.
- The application interface is simple, the camera image is displayed and just below the filters you can apply. Most notable first, followed by category filters.
- Select the filter that you want to use for live streaming on Yooutube.
Note: After installing the Snap camera, you need to restart the browser to detect the new camera functions.
Configure YouTube channel
- Now look in the browser for the YouTube channel on which you are going to transmit.
- Click the button with a camera icon. The button is at the top right of the page. This to start the live.
- A new window will open, in which you need to configure the data for the live broadcast, including the name of the broadcast.
- Select More options and click on the option Webcam by default.
- The default webcam option you should choose is Snap Camera. Accept the changes made and click Next.
- Once all the settings are ready, select Next to start the live broadcast.
As soon as you start the transmission, you will be able to see the image with the Snapchat filter. Better yet, if you wish change your Snapchat filter , you just need to go to the Snap Camera app and select the one you like best. You don't need to go out of the transmission to change filters, changes are made almost instantly.
Stream with the Snap Camera
Snap Camera is compatible with other services of streaming on more Facebook. You can currently use it with Skype, Hangouts, and the popular Twitch. Almost all applications that have access to the PC camera.
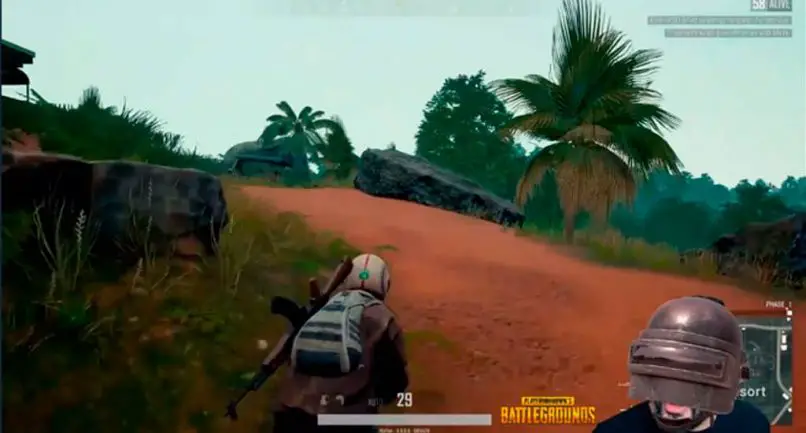
One of the most popular uses for this app today is to broadcast gameplay . Many players broadcast their video games and complement them with a Snapchat filter to give their image a personalized touch.