How to Create Mailing Cards, Envelopes, and Certificates in Microsoft Publisher
In repeated articles, we have commented on the different functions and tools available to applications Microsoft Office . And you have surely often wondered to what served and used the direct mail option.
For this reason, we offer you the tutorial, how to create mailing cards, envelopes, and certificates in Microsoft Publisher.
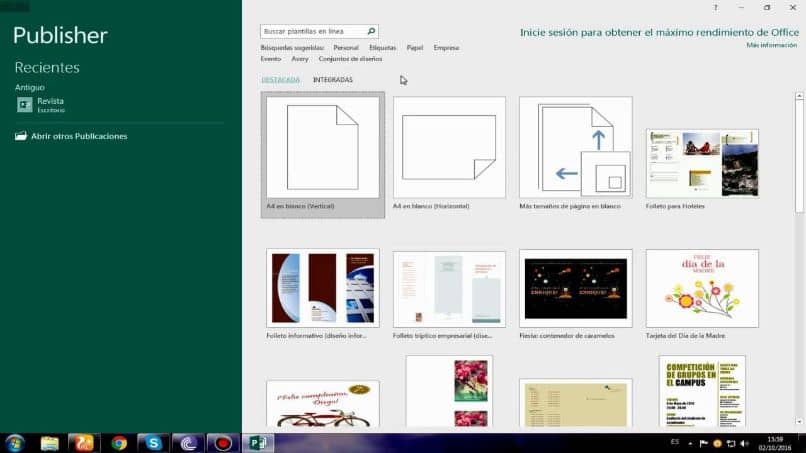
With this function Microsoft Publisher , you will be able to achieve all kinds of cards , envelopes, certificates, diplomas, certificates, etc. through the use of templates . And while it might seem a bit difficult, we predict it won't and you will be using this option very frequently. And then we'll show you the steps to get there.
How to Create Mailing Cards, Envelopes, and Certificates in Microsoft Publisher
Publisher and Word are somewhat similar when it comes to using their different functions. You can see this in the tutorial how create ou create a triptych in Word step by step. And the use of direct mail feature can be applied in both apps and we will show you how.
What makes this direct mail feature really useful is that we can export data that are in another file and add them to our post. It is for this reason that it is widely used to create cards, envelopes and certificates. Since we can insert the information of each item into another file on our PC.
We will find the different tools for this function in the Correspondence tab in the main menu. If you have done this type of work in Word before, you will have no problem using it. Since the use of the tools are very similar.
It is important that you know that you must have two special files to be able to perform the combination. The first of these is the main document that will be created in Publisher and it will contain all the elements that will be repeated in the publication sheets. These elements will be borders, images, texts, etc.
And the second file that we are going to have is the one where we have the variable data and that way when using the match merge function. We will get a third file containing the combined elements of the first and second files. The file that contains the variable data, we can create it in Word or in Excel, through the use of tables.
Suppose we have made our table with the following data, a column with the name, a column with the name and a column with the completed note. This table represents the students who completed their studies this year and who wish to take a certificate indicating the grade they obtained.
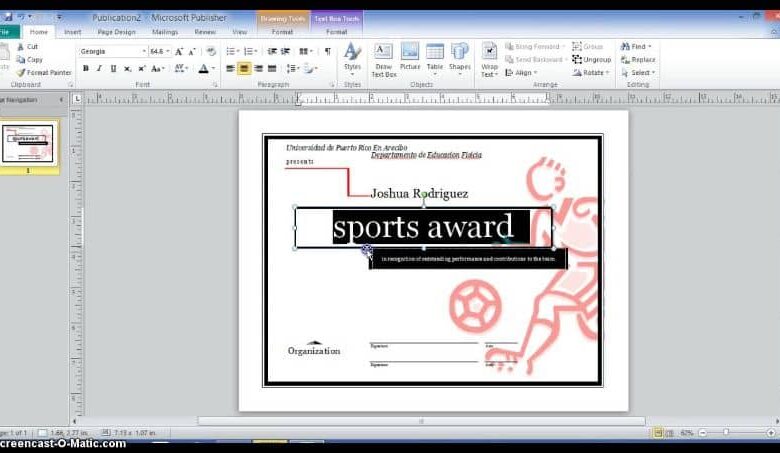
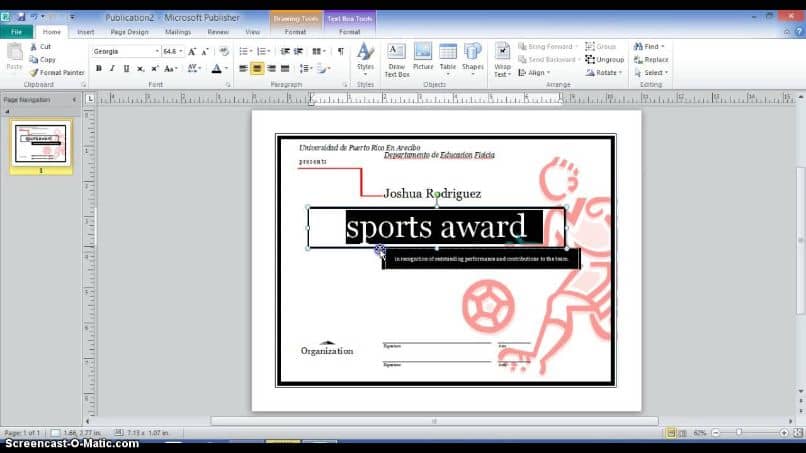
Once this information is listed, the file must be closed, otherwise the combination will not be performed. If we wish, we can use a default template of our preference or we can create it or download it. This certificate contains all the fixed data and it will be necessary to add the variable data, such as the name, the first name and the diploma obtained.
Using the Mail Merge feature in Publisher
Now to make the combination we have to go to the tab correspondence , if we wish we can use the wizard, but we will use another option. This will be Select recipient, then we clip to the Use an existing list option. We now select the file containing the data that we will use in our certificate.
A window will appear and we can filter the elements that we will use after making this selection, we click on accept. We will now add each of the variable elements in the certificate . To do this, we don't go to the main menu and select Insert Merge Field and choose the field I named.
A text box with a name will appear, next to it we put a comma then we will insert a combination field and select the last name.
Now we select these two fields and formalize it, i.e. font, orientation, style, size, etc. and you carry out the same procedure with the other fields and therefore with the other certificates.
This way you learned create mailing cards, envelopes and certificates in Microsoft