How to create advanced and dynamic filters in Excel step by step
In the following article, we are going to talk about a very useful tool when doing our work using a spreadsheet. In this case, we will talk about the famous Microsoft Exel application, we have previously discussed some important points about the application of its functions.
But this time we will talk about advanced filters and their usefulness when using them. This is why we are going explain step by step how to create advanced and dynamic filters in Excel.
More what is an advanced filter? Thanks to this filter, we can transmit data that is located elsewhere in the spreadsheet well known and even in another worksheet. The data we need will pass through this filter and provide us with the specific information we want. Thus, in this way, we will only receive the requested information.
The functions and formats of Microsoft Excel are sometimes a bit complicated because you have to include a formula in the text box or special order. And although it may seem difficult to perform this operation, it is actually very easy to do, if you follow the steps that we are going to present in this tutorial. Then we will you learn how to create advanced and dynamic filters in Excel step by step.
How to create advanced and dynamic filters in Excel step by step
So that you can create advanced and dynamic filters in Excel step by step, we are going to show you what you need to do. Remember that when you go to do a filter, you are going to take some of the information from a very large database. And you will pass them to another Exel sheet, but only the information you need.
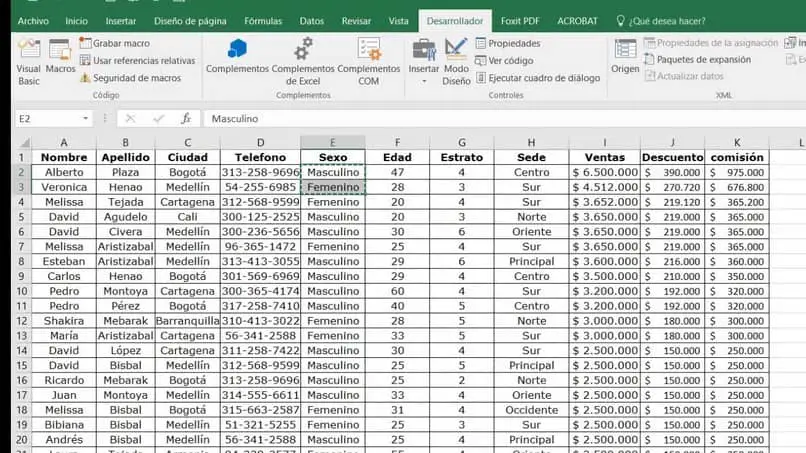
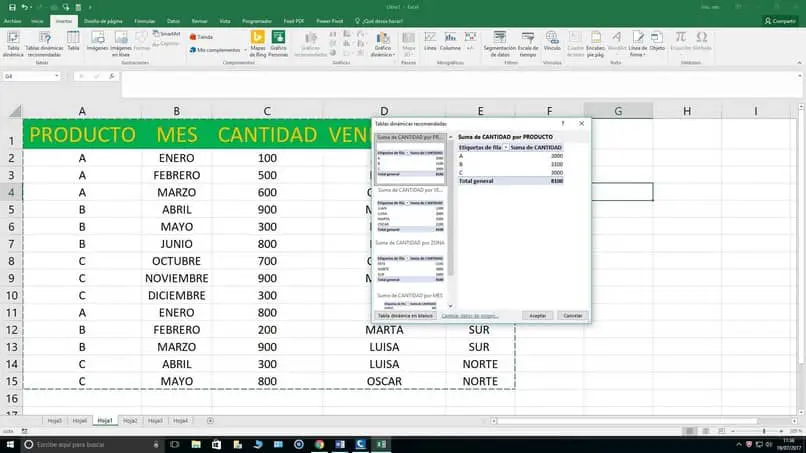
To do this we will go to our worksheet and we will open the one where we have all the information. Then we will open a new worksheet, in which we will place the name of Filter . In our data table, we have a column called Names and it contains 25 different data.
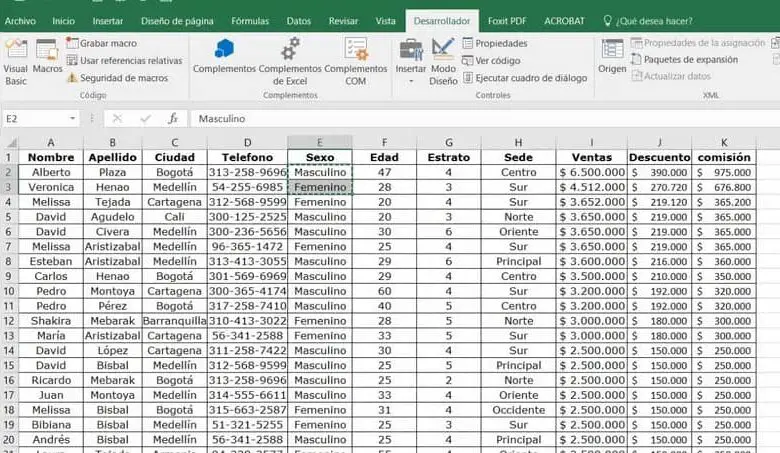
In the next column called Product with 25 different data and a third column with the name of Profit. So the filter we want to do is on the sales that any salesperson has made. Then the filter we are going to use is the Name and in order for us to enable this filter we will go to the main menu options.
It's at the top and we're going to select the Data tab, then we're doing a clip in group order and finally Filter Advanced. Once you have done this action, a box will appear where you need to place some data. In it you have to choose the Copy to another location option and now you have to write the rank of the list.
How to fill in the advanced filter box
In our case, we will place $B$6: $D$31 with this we will select all the ranges of our table. In the Criteria Range option, we are going to place F8:H9 and in Copy to we have to write the filter ¡$ F $ 12. And to finish we have to make a clip on the Accept option, once done, the advanced filter will start to act and the data will start to be copied.
As you can see, using this advanced filter feature will save you from having to rewrite the data you already have in a table. This will also allow you, thanks to this formula, not to waste time looking. You just need to try to enter the data correctly for it to be do not give you an error message .
And in this very simple way, you have learned what the advanced filter function is for and how to use it. As always, we give you some handy tools to teach you and in this case you can learn how to create advanced and dynamic filters in Excel step by step.