How to create and apply the Corel Photo Paint neon effect in Corel Photo Paint
There is no doubt that the limit that the various programs of image editing can have seems to be your imagination. Especially if we're talking about the news Corel Photo Paint application which allows the incorporation of multiple effects.
And this article will teach you a new one so that you can learn to create and implement the neon effect Corel Photo Paint in Corel Photo Paint.
But not only can you create effects with this program, but you can also print a image or file in a very simple and fast way.
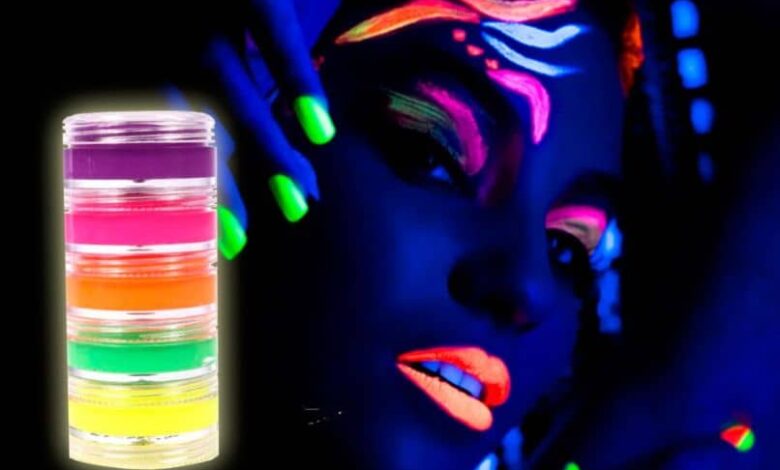
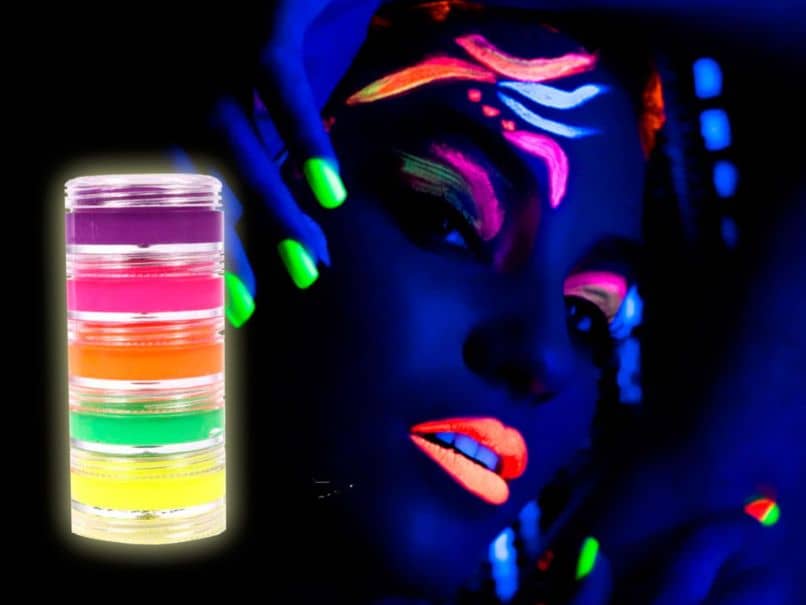
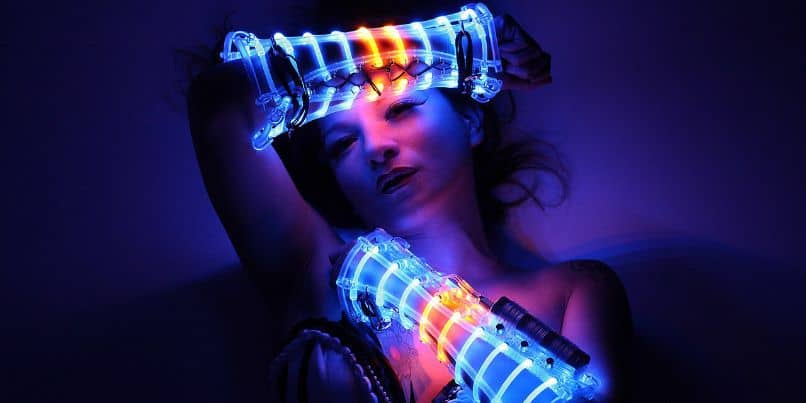
The Neon effect is very little known and therefore used, but thanks to this application it is going viral. That's why we'll show you how to create and implement the effect neon Corel Photo Paint in Corel Photo Paint.
How to create and apply the Corel Photo Paint neon effect in Corel Photo Paint
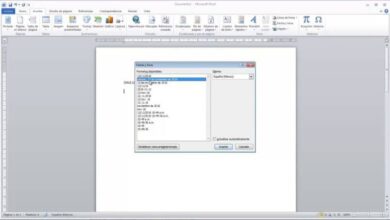
In order to create and integrate the Corel Photo Paint neon effect in Corel Photo Paint , we will use different tools. Among them, the paths, to make the curved movement of the lights, the tool brush , the mask tool , and finally the interactive fill to create the neon.
To make the effect much better, we need to make sure that our image has a dark or preferably black background. To begin with, we upload our image to the program, it will have a giraffe, that a lamp neon wraps around his neck and ends with the name of Fufys.
If we want to create this circular path around the neck, we position ourselves on the shapes tool. We press the left mouse button and select the Path option , now we create a new layer. And we're going to create a freehand path with 100 anti-aliasing. Now I go to the image, hold the left mouse button down, and continue to draw the path.
Now I go to the properties bar and choose the Shapes option and we fit our circular path around the giraffe's neck. Once ready, we will choose the brush tool and choose the highlighter brush which has a diameter of 10, fade in 32 and 0 in opacity, then we choose the color white.
Using different tools to apply the neon effect
Now we position ourselves on the path, right click and select the option Brush stroke along the path. Now we hide the path and thus we finish the first part of this effect, now we create a new object layer and create a mask of this object.
Then we select the Rectangular Macara and add a fade to it. We click OK, now we select the layer which is empty and we select the interactive fill tool.
Here we can place the fill we like the most, it can be a solid color or a gradient or uniform fill. When we are done we click on Apply, now we remove the mask and select both layers.
We make a clip on the Combine selected object button , finished that, we have to make the spiral look like it goes around the giraffe's neck.
To do this, we zoom in on the image and select the Eraser tool; We choose a circular tip 25 in diameter and wither and begin to erase. It is necessary to erase so that the image is inside the electric one, so that it appears to be inside the spiral. We can zoom in for maximum detail and it suits you perfectly.
Once that's done, we'll write the text, choose the font type, style, size, and write Fufys. Now we position ourselves on the text layer, right click and choose the option Create mask from object. And we apply the same operation that we do with the plot, so that we have the same swerve neon on the giraffe's name and then we can print image if we wish.
In this way, we have completed another tutorial, which showed you another interesting effect that can be done with this versatile application. And in a few minutes and in a few simple steps, you can learn to create and implement the Corel Photo Paint neon effect in Corel Photo Paint.