How to Create and Create the Lens Flare Effect in Adobe Premiere Pro
If you are wondering, can I apply the Lens Flare effect in Adobe Premiere Pro? What do I need to create the Lens Flare effect? How create and apply the Lens Flare effect in Adobe Premiere ? Today, we'll take you through it step by step.
Adobe Premiere Pro is one of the best editing programs on the market and it is also available to download for free on your PC. With Adobe Premiere Pro, you can easily edit videos, create the vignette effect , create a GIF or image , render videos , to create a animated explosion effect , create and create a lens flare effect and hundreds of other options and possibilities.
Steps to create the lens flare effect in Adobe Premiere Pro
Applying, creating and achieving the Lens Flare effect in Adobe Premiere Pro is extremely easy, the Lens Flare effect works when you have taken pictures. photos at sunset or in direct sunlight.
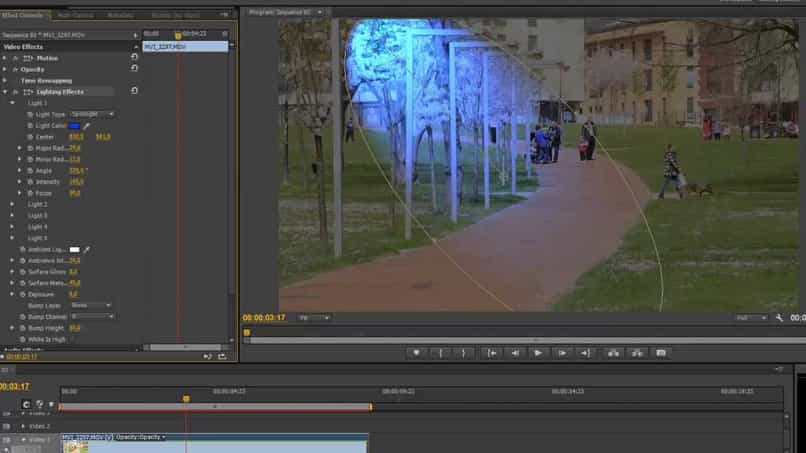
The first step you need to do is turn on your PC and open the Adobe Premiere Pro program with the video you want to edit and improve its appearance by applying the Lens flare effect.
Then you need to create an adjustment layer in your video , for this you must go to the project area and press the “new element” icon then “adjustment layer”.
Once you have your adjustment layer you need to go to the colors section at the top and add a "lut", the most recommended lut to do the lens flare effect is the "Orange & teal" which you can download easily from the Internet for free.
After correcting the color of your image you must return to the project area and in a new element choose "Matte color", in the color options it is advisable to choose black, the matte black color must be placed on the whole video screen.
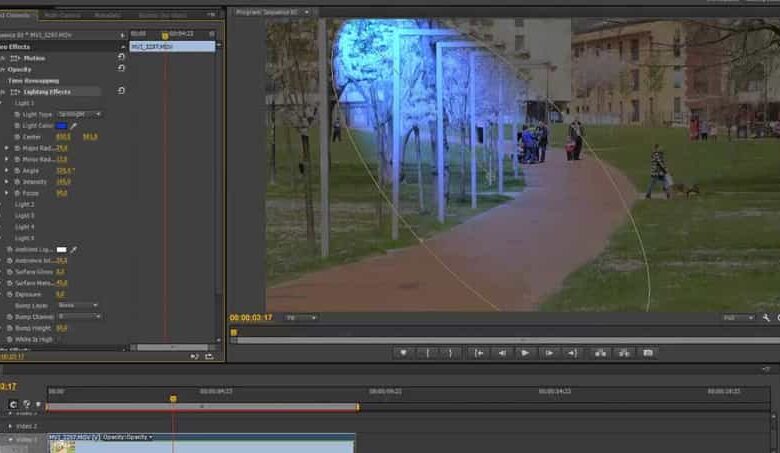
The screen will be completely black, so you need to select “Blending Mode” and click on “Screen”, once you have selected the screen, you can place the flare effect on the layer you created in your video.
Steps to add the effect in Adobe Premiere Pro
Adding the Flare effect in Adobe Premiere Pro after creating a layer in your video in Adobe Premiere Pro is extremely easy, you need to go to the "Effects" section.
In the effects section, you need to write "Lens flare" and drag it to your video. This way the flash will appear on the desired area in your video.
Then a series of options will appear on the left side of Adobe Premiere Pro, in which you need to select "Lens Type" and set "105mm lens".

Finally, the lens flare point can be moved to where you prefer in your video, it is advisable to do it in a space where it is looks natural. This way, you will have already applied the lens flare effect to your video.
Alternative programs to add lens flare effect
There is a wide variety of alternative programs to Adobe Premiere in which you can quickly and easily create and create the lens flare effect, some of these programs are:
- OpenShot, this program has been online since 2008, with which you can edit non-linear videos, add 3D effects, stickers, animations, texts in different formats, the best thing is that it is available for all versions of Windows and that 'it's free.
- Davinci Resolver is editing software designed for anyone with advanced editing knowledge, but its design is generally quite attractive and easy to use after a while.
- Shotcut is a free program available for both Windows and MAC computers, with this editing software you can easily add effects to your videos, trim parts, add audio or sound effects. It is also compatible with many video formats like PNS, SVG, TGA and many more.