How to protect or make an Excel file read-only
The number of uses of the Excel tool is impressive. Although its main use as an office automation tool is in the area of calculations and finance. Documents of this type require a type of specific protection for data security . How change file state to read-only mode .
Data security is the priority of any business, because massive data loss of any kind can cause delay in daily operations or financial loss. The best solution for these types of problems is prevention. What better way to protect your data from errors than by protecting your file Excel .
How to protect an Excel file in read-only mode?
Changing an Excel file to read mode in the most recent versions of the application is not a big deal. This is a fairly visible option to apply it right when you are done editing the document.
- Open the document you want to protect and go to the File menu. An easy way to access the file menu is the shortcut command Alt+A .
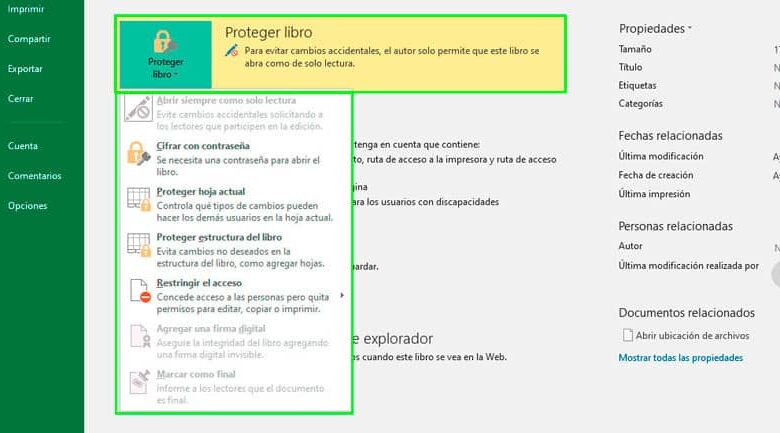
- In the Information section, click the option Protect the book then on the Always open as read-only option.
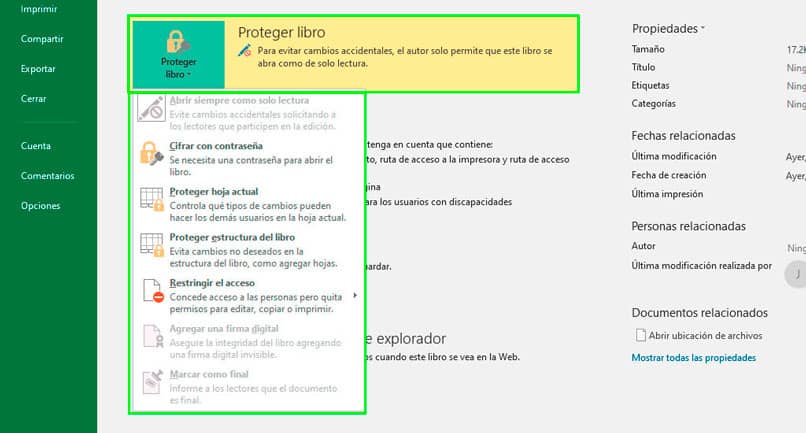
- When you do this, the modification is immediate and the option Protect book is highlighted in yellow .
- For the changes to take effect, close the file and save the changes made .
To protect the file with a version of excel 2003, you do it from the Tools - Options menu and finally Security.
Editing a file in read-only mode
Now, when another user accesses the file, they see a message saying the following: 'The author wants me to open the book' name.xls 'read-only, unless you need to save your changes. Do you want to open it with read-only access? ".
In case the user makes changes to the file and tries to save them, another warning message will appear stating: We cannot save 'filetitle.xls' because it is a read-only file.
To save your changes, save the workbook with a new name in a different location . The user can save the changes, but must save the document as a separate file.
This is a way to "get around" the read-only restriction, because you can edit the file, add formulas to it, edit fields, add tables, or modify whatever interests you. When you want to save the changes, you just need to save them as another file with the option "Save as".
Other ways to protect an Excel file
If you want to be more specific when protecting an Excel file, the more recent versions have more protection options . To access these options go to the menu File (Alt + A) then in the Information section and finally. the Protect book option.
Protect current sheet
If you have multiple sheets in a document, but only want them to have access to edit some, you can do so from this option. You can indicate the type of restrictions users have on the sheet , such as applying formats to cells, columns, and rows. Insert or delete items or even if they can select cells or not.
Protect the structure of the book
Protects the structure of a workbook from changes such as adding new sheets. For this to work, it is necessary to put a password , but in case you lose the password, there is no way to get it back. It is advisable to keep the password in a safe place.
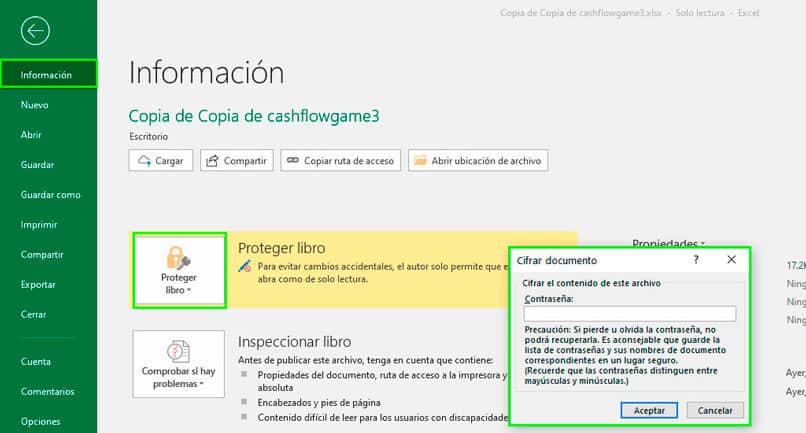
Encrypt with password
When selecting this option, the user who wants to access and open the file must have the password assigned by the author of the document . Without the password, you will not be able to open it. You can put the password even with macros and if you want to delete it , you can always do it later.