How to use the 3D material eyedropper tool in Photoshop?
Photoshop is a very useful program in the field of photography and image editing, positioning itself as one of the most used. This is a large number of tools with specific functions, necessary for mastering graphic editing. That's why it's important to know how to use the 3D Material Eyedropper tool in Photoshop.
Although Photoshop does not have 3D editing as its primary function, with its included powerful and specialized tools, high-quality three-dimensional work can be achieved. The 3D Material Eyedropper tool in Photoshop is useful for add textures and colors to objects for an optimal finish in Photoshop.
In turn, you can always open or edit PSD files without Photoshop to improve the finish of the process.
Photoshop eyedropper tool
This is another of the many items that can be found in the program options menu, so you should always know how use the Adobe Photoshop toolbar.
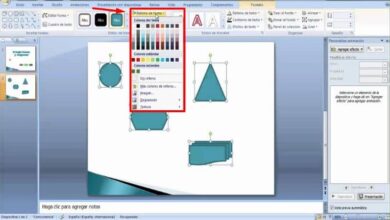
The function of the Eyedropper tool is to interpret the color of an image and replicate it for use in other tools. Just by clicking on the area where you want to copy the color, it will do its job.
When selecting the color with this tool, it is positioned in the color picker which is higher than the other. The chosen color will remain available for all other tools that use color.
When the Eyedropper tool is selected, its configuration items are displayed in the top bar. Here you can change the sample size it will select. If the bar of "sample size" is selected, different predefined configurations of the area that the tool will use will appear.
Steps to Use the 3D Material Eyedropper Tool in Photoshop
Keep in mind the following unknowns: What is it, what is Adobe Photoshop used for and what are its tools? And if the responses are overwhelmingly positive, you are on the right track.
Photoshop, when opening a three-dimensional file or when creating a file from the program, goes to a specific menu in which it offers the possibility of importing and animate 3D objects , add lighting and textures, among other functions.
The 3D material eyedropper tool in Photoshop is disabled as long as the working area 3D is not activated. Normally, when its icon is pressed with a long click in the menu, the 3D Material Eyedropper tool will appear opaque and will not allow your selection.
Activate the 3D workspace in Photoshop
The 3D functions are normally not active, to continue using them, select the »tab Window » in the top bar , which will display a menu then click on the option " 3D «.
It can also be activated by double clicking on the 3D layer icon which is represented by a rectangular prism and can be found in the layers panel. Another method is to open the tab " Window » , then select the option " Workspace » and finally click on "Advanced 3D".
3D tools in Photoshop
In this new workspace, the specific tools for manipulating three-dimensional models will be activated. Some tools will present different functions by completely modifying their use within the program. So l' using can be confusing.
In the lower left corner, a panel will be displayed with three options that work to control the movement in the project, these are of great importance, because in the normal view of Photoshop, the movement is different and easier.
3D Material Eyedropper Tool in Photoshop
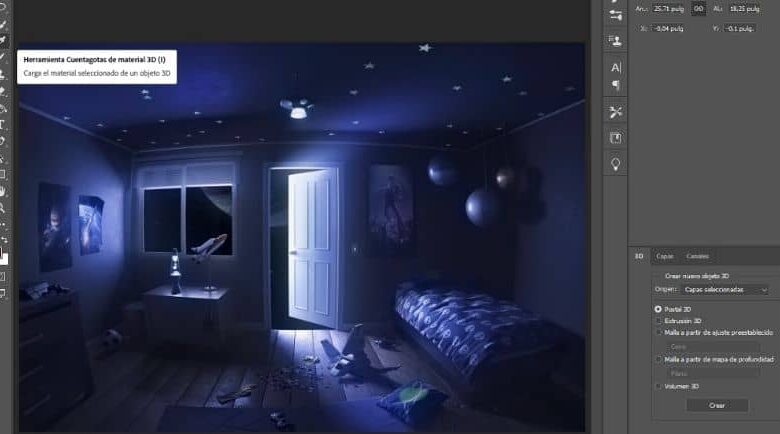
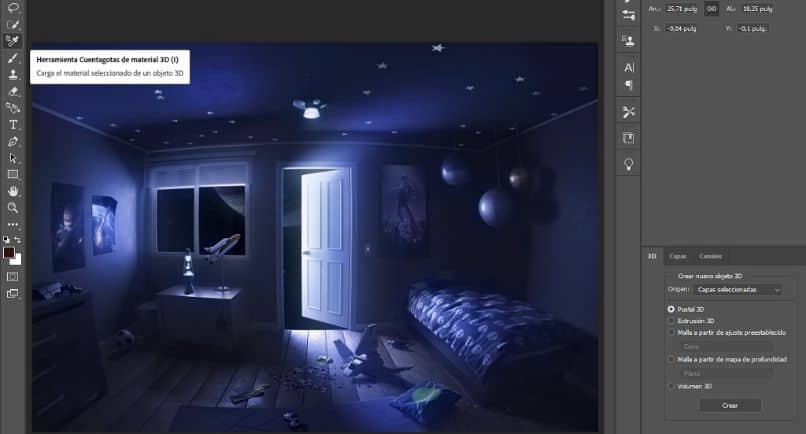
Taking into account the previous steps, you can proceed to the selection of the 3D material eyedropper tool in Photoshop. Since the 3D area is activated just by selecting the icon in the toolbar, the 3D eyedropper will be activated automatically.
Its function is practically the same except being 3D, it can select textures. In addition, if you right-click with the tool, a edit panel properties of the image will appear.