Having problems with GIMP fonts? So that you can solve them
One of the most important parts of a design project is knowing how to choose the fonts, or fonts, that best match the look of the design. Whatever effects we give, such as highlighting the text , the font is a very important part of our creation. When we install a font in Windows, for example, it automatically becomes available for the entire operating system and for all applications. However, what if not? A very common problem with the editor GIMP is that it does not recognize operating system fonts. And for this reason, it does not allow us to use them.
GIMP is one of the best alternatives to Photoshop that we can find for Windows, macOS and Linux. Although not a complete tool for professional use, GIMP allows users to perform all kinds of photo creations and retouching with great ease. And with the most professional results.
The bad thing about GIMP is when we find one of the loopholes that prevent us from using it without problems. For example, the inability to recognize the sources of the operating system that we are talking about this time.
Fortunately, users of this OpenSource design software who have problems adding and using fonts in the program can easily solve them by following these tips.
GIMP compatible fonts
Although this program is able to recognize most of the fonts that we have installed, it may be that if we have downloaded a strange font from the Internet, it may not be able to open it. Therefore, first of all, we need to make sure that the type of police that we downloaded matches one of the following:
- True type
- Type 1
- Type 1 with CID key
- CFF
- Open type
- SFNT
- X11 CPF
- Windows FNT
- BDF
- PFR
- Type42
How to add fonts manually
If we tried to install a different font, GIMP peut do not recognize it by default. In this case, you should try to copy it directly to the program sources folder to try to make it recognized, although this is not guaranteed.
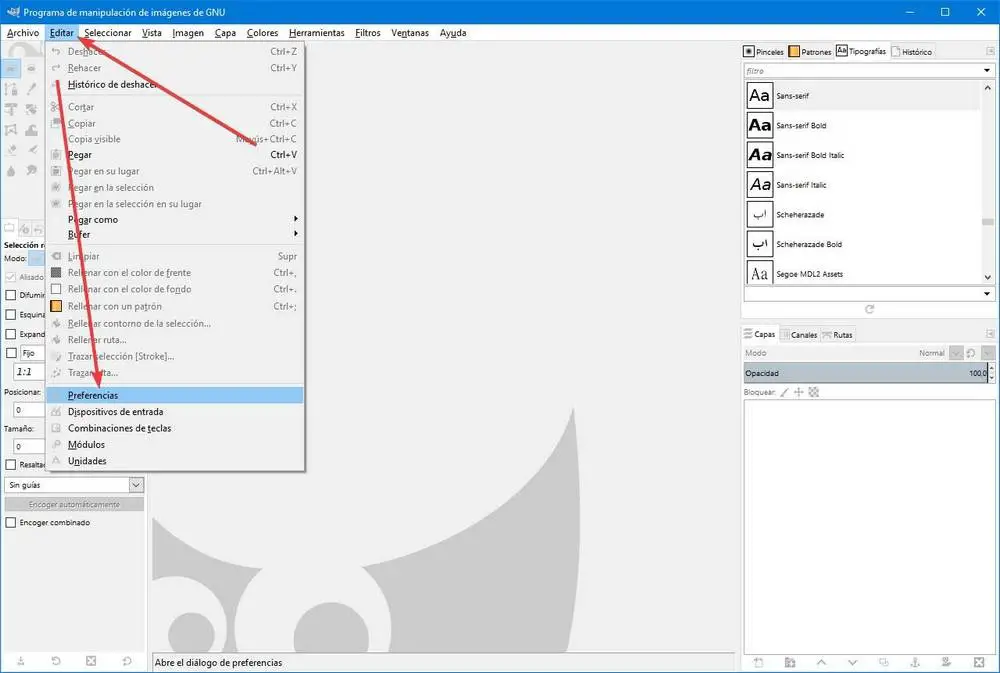
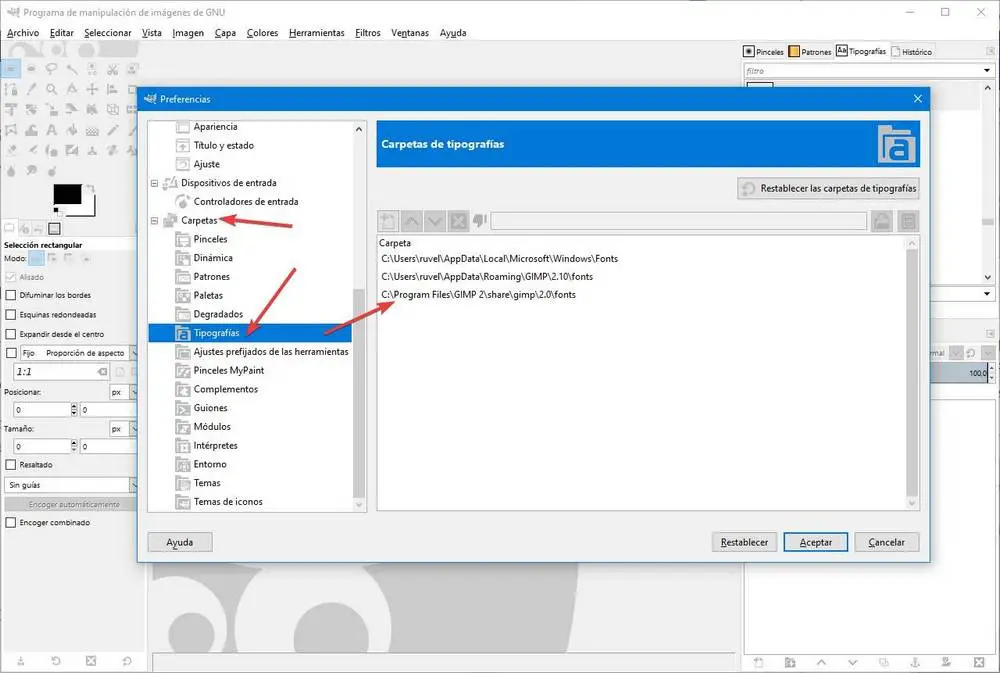
To do this, the first thing we're going to do is find out what GIMP's default directory is. To do this, we will go to the Edit> Preferences menu, we will go to the »section Folders> Fonts “, And here we'll look for the directory where GIMP looks for new fonts.
By copying the sources into this directory, we will add them manually to the program. We can also add our own source directories (if we have them) here, so that we don't have to copy them to other paths.
Manually find new fonts from GIMP
The first way to try to get the program to recognize fonts on your PC is to force it to search for new installed fonts. Although this program usually searches for new sources each time we open it, it does occasionally fail. We may even have it disabled to make the program open faster.
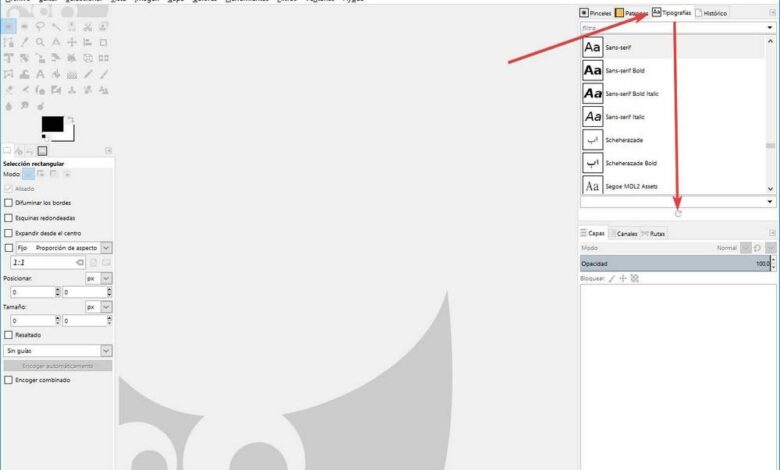
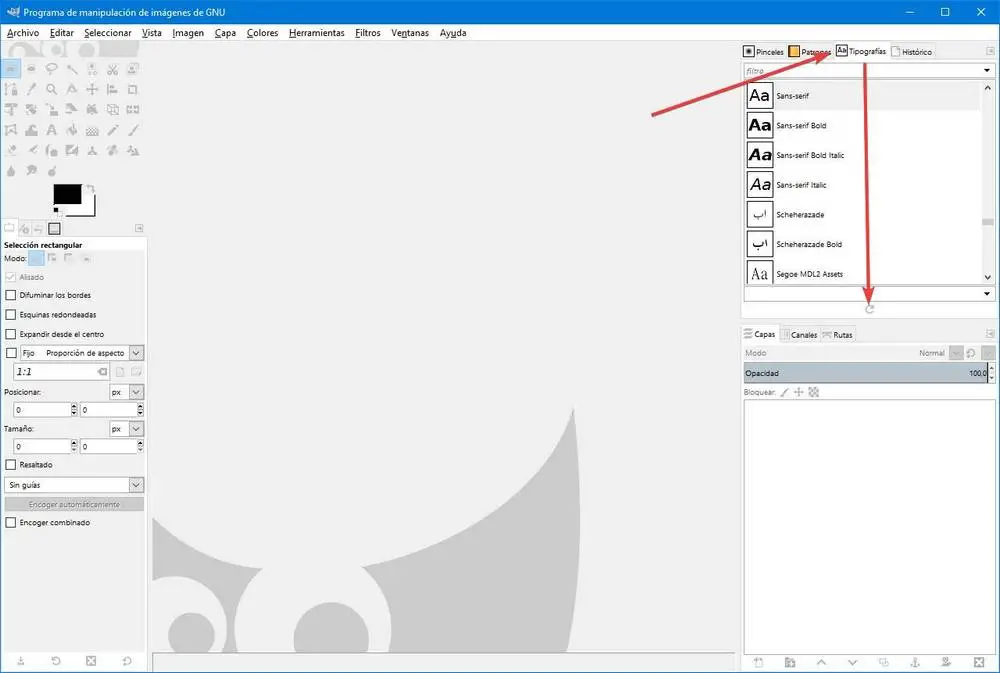
On the right side of the main interface, above the layers, the project items panel will appear. In this we select the tab "Fonts", and at the bottom of this panel, we click on the “scan” button that appears.
GIMP will search for new fonts installed in the system and add to its database any that have not yet been indexed. Now we can use them.
Update or reinstall the program
If the sources still do not appear, it remains to do the basic maintenance options of any other program. The first thing we're going to try is to restart the computer , so that if something got stuck in Windows, it can work again.
If we are not using the latest version of this design program, we also need to go to its website and download GIMP to install the latest version on our computer.
Finally, if we are already using the latest version of this program, what we need to do is to completely uninstall GIMP and reinstall it. This way, if there was a problem with our program installation, it will be resolved and everything should work normally again.