Cross out cells with diagonal lines in Excel to mark them
In many businesses and homes around the world they could number in the millions, users are using an app de l ' utility Microsoft Excel . This is a work-oriented tool with spreadsheets that gives us everything we need to make things easier in this regard.
As most of you know firsthand, this is a program that focuses on using digital data. This is something that is achieved from a somewhat peculiar UI design, but more than enough for these tasks. We tell you this because than Excel shows us an office divided into a large number of cells. These are the ones we're going to use to enter the data we want, many of which are numeric, although that's not all.
This Microsoft application found in the productivity suite, Office, is ready to handle other elements such as texts, graphics , images , etc. But all of this will actually be supports or additions to numbers and formulas in most of the cases. This is why the Redmond-based company provides us with a large number of functions and features to help us in these tasks. These can be found spread across the tool's multiple menus, but they are not only about how the program works, but also refers to how it looks.
As we said, for those who are not used to it, la distribution of cell Excel can be a bit odd, so it's best if you can customize it. In this way, we will have the possibility to adapt all the data digital or not, to our needs. This is something that is particularly necessary, or recommended, if we are dealing with very large spreadsheets.
Mark cells with diagonal lines in Excel
This is why in these same lines we will show you how to mark certain cells in order to better distinguish them, all with diagonal lines. For example, it can be very useful to indicate which ones are no longer valid, which have already been filled, etc .; everything will depend on the nature of the leaf .
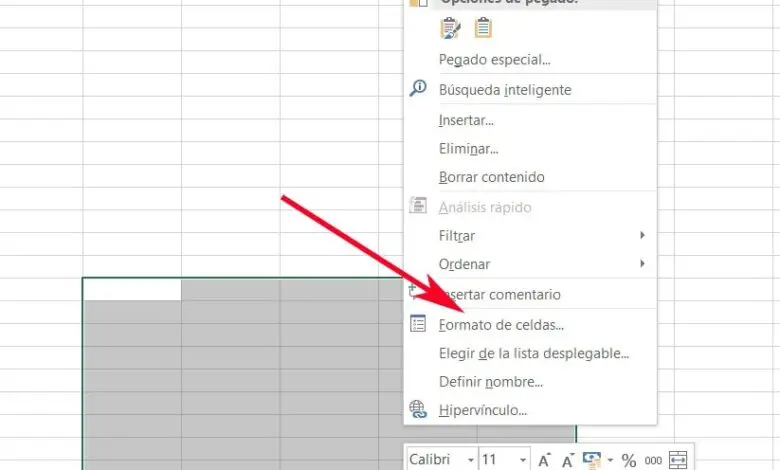
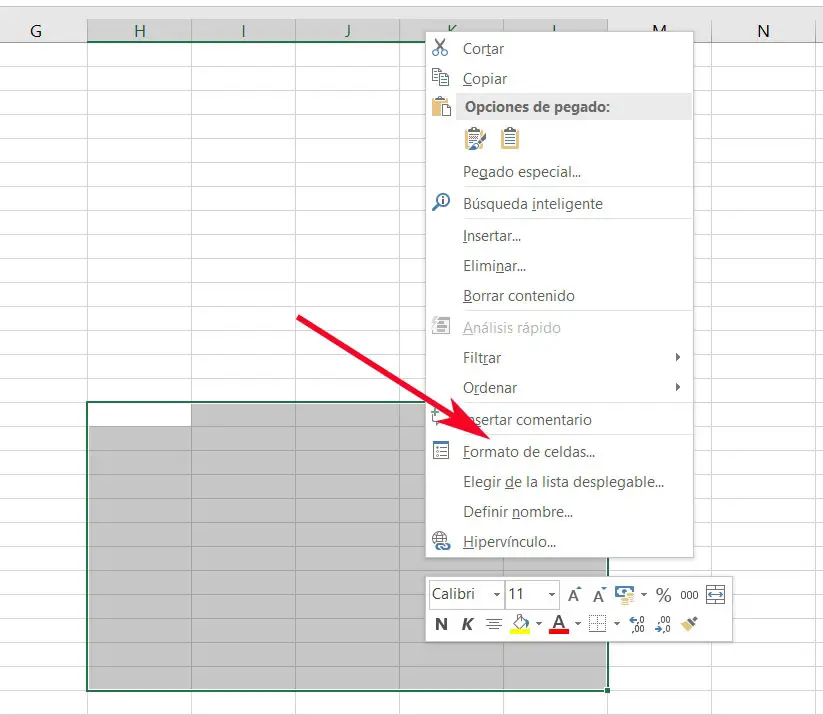
Therefore, if we want to mark a custom number of cells in this way, we will show you how to achieve it. For this, the first thing we do is start the Office application as such and open the sheet we are working on. Then we mark the cells the same in which we want to add a diagonal line , and click with the right mouse button. Thus, from the list of options that will appear on the screen, in this case we have opted for "Format cells".
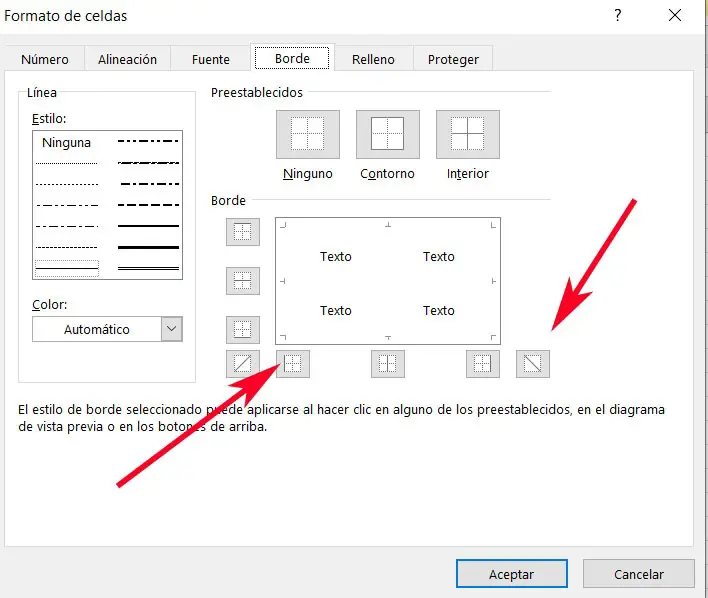
Once in the new window that appears, we go to the tab called "Border", where we see various functions related to the appearance of cells on the sheet. Well, at the bottom of it, we'll find the buttons we're interested in in this specific case. Let's say there are two and they are represented by two diagonal lines that completely cross the cell, one in each direction.