So you can apply a motion effect to an image in Photoshop.
When we talk about image editing, we are talking about Photoshop because it is the most popular and long-used image creation and editing tool. Despite everything, there are many users who still do not dare to use it because it may seem like a fairly professional application that has a large number of settings and options for retouch images , apply filters, make your own creations or apply surprising effects, among other things.
However, we want to show below how to apply an effect of motion or speed at frame to frame Photoshop help in an easy way by following a few simple steps so that any user, regardless of their experience in the tool, can apply it with no problem.
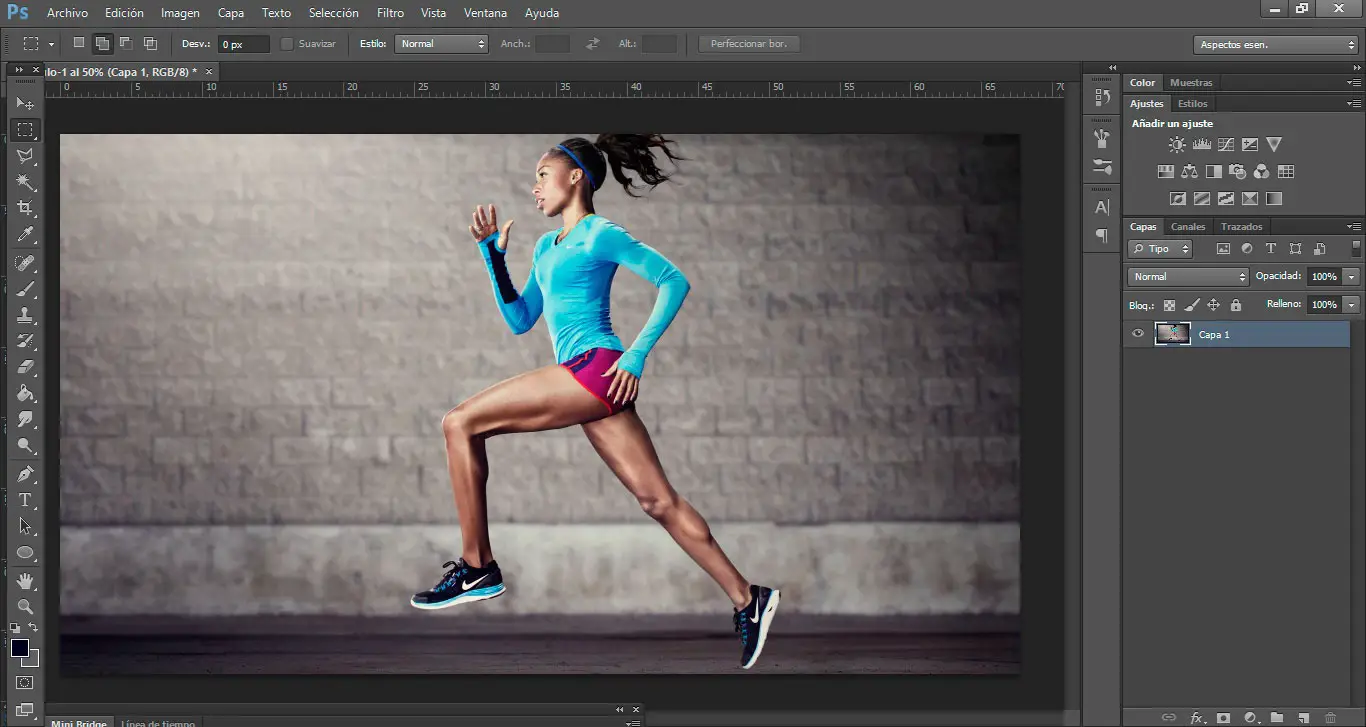
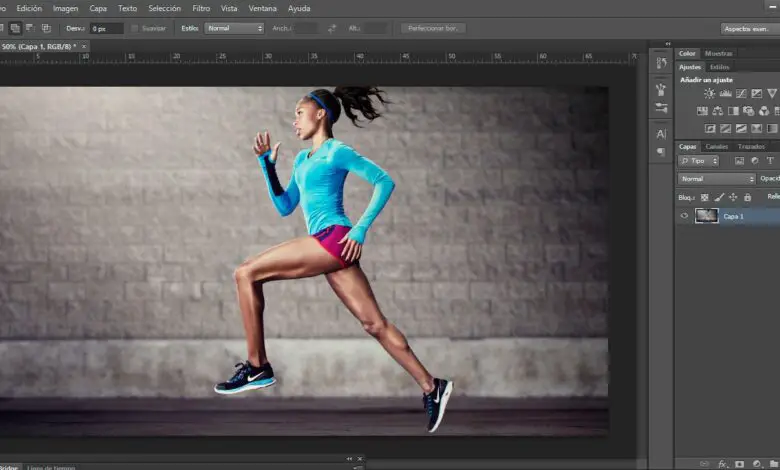
The first thing to do is to open the image in Photoshop , then choose the lasso tool . Once chosen, we border the image on which we want to apply the effect of movement or speed. When selecting, it is convenient to leave a little space so as not to enter the silhouette itself, although later we can add or remove part of the selection thanks to the buttons located under the options File and Edit Photoshop main menu.

Once the selection is made, we press the combination Ctrl + J keys to copy the cropped image and paste it into a new layer . On the new layer and with the active selection we go to the menu option Edit> Set brush value , give it a name and click OK. Then the next thing we need to do is select the finger tool , which is inside the Blur tool, and we bring up the preset brush selector that appears in the upper left corner.
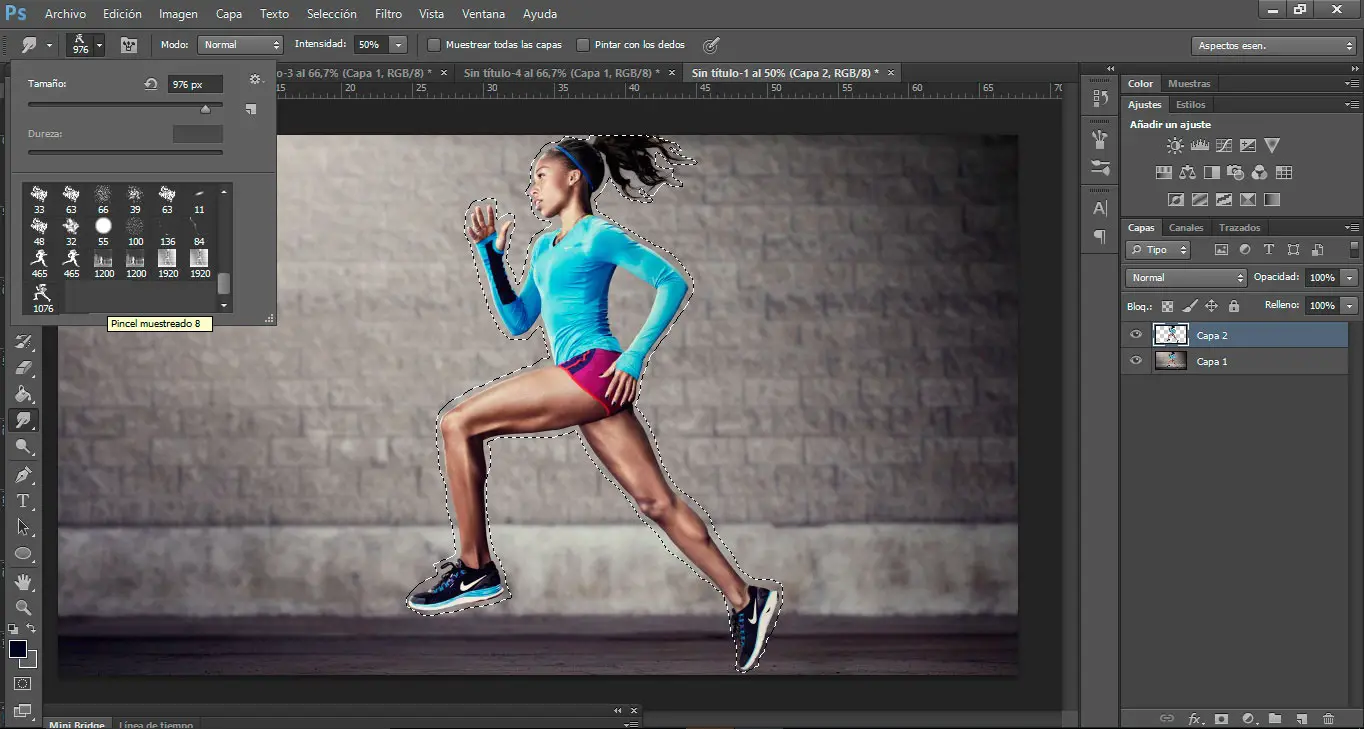
There we can find the brush created previously, which is usually the last in the list. We select it and then click on the button that appears right next to the brush selector, which shows the brush settings window where we need to make sure to uncheck the Spacing box .
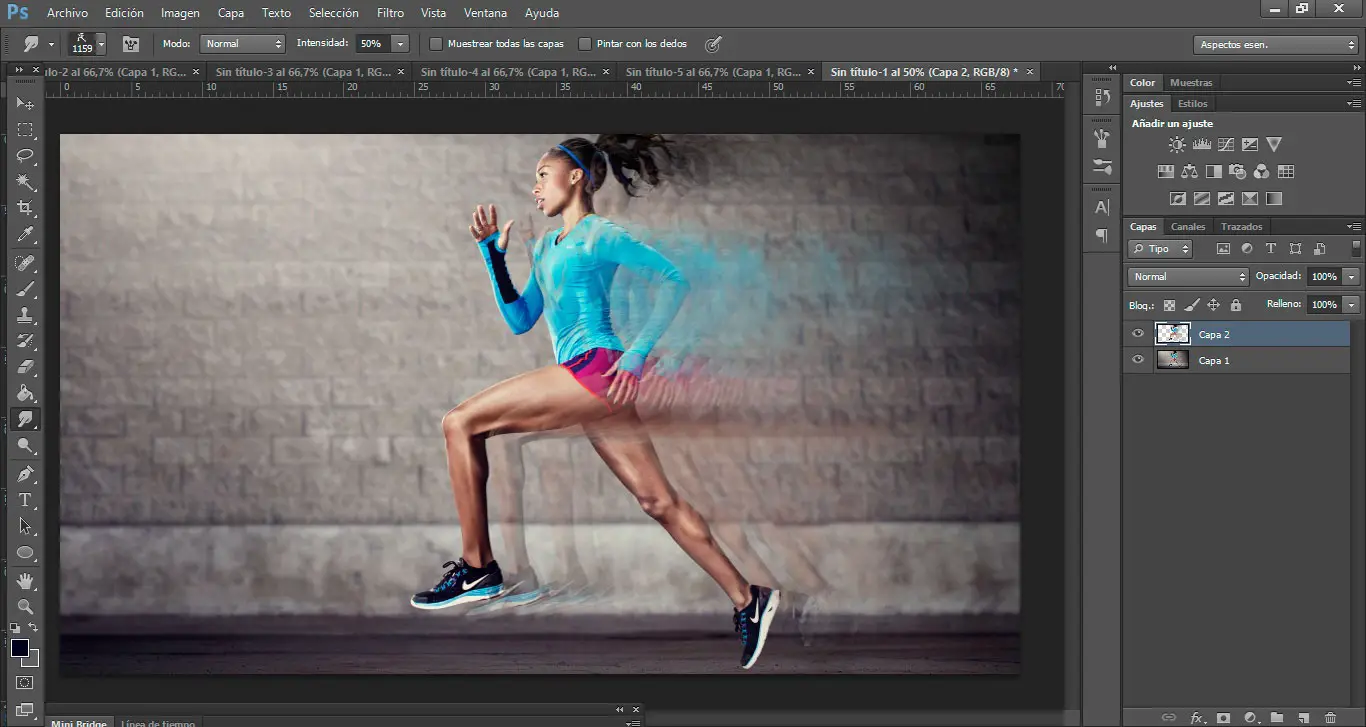
At this point, we uncheck the selection we made with the lasso by pressing Ctrl + D and with the finger tool selected, we position ourselves on the image to click on it and we do drag the mouse in the direction you want to apply the effect . Depending on the speed at which we move the mouse, we will see that the effect obtained is one or the other. By pressing Ctrl + Z we can undo the effect until we get the one we like the most.
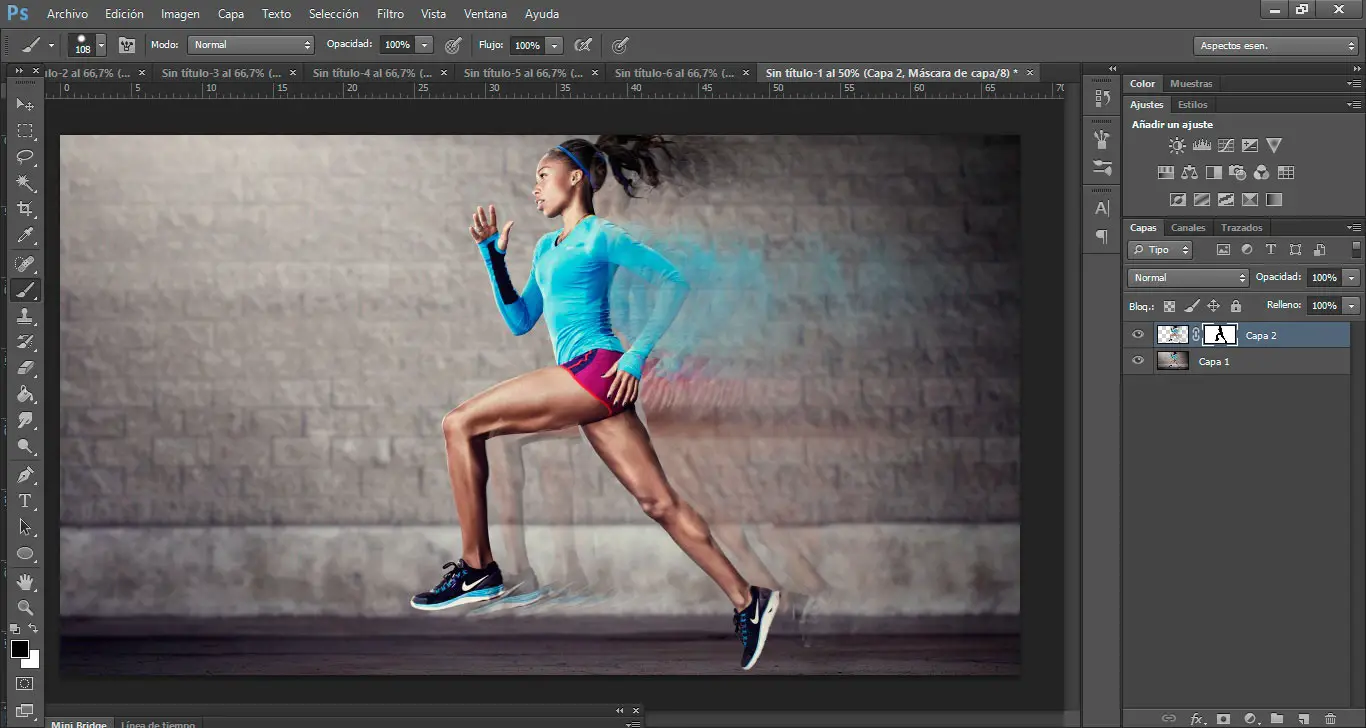
When we have applied the effect and got the perfect path, on the layer we create a mask of layer and with this one selected, we choose the Brush tool, select the black color, and run over the image to clean up any part of it that looks blurry or smeared by the trail created.