How to change DNS server in Windows
Normally we use the DNS servers assigned by the router through the DHCP server, because in the router itself we can set whether we want to use the DNS of our operator, or others such as Google, Cloudflare, Quad9, etc. . If you want to configure specific DNS servers on a specific Windows 10 computer, so as not to touch the configuration of the router or depend on its configuration, you need to perform the following steps.
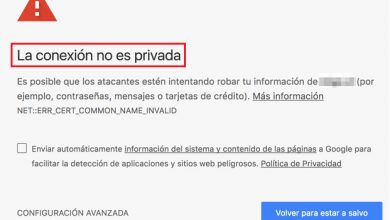
There are many reasons why a user might want to change DNS servers on their computer, remember that when our ISP provides us with a router, it is pre-defined to get the DNS servers through the operator's own network. Lately, we are seeing ISPs blocking the ability to change DNS server on the router, forcing users to have to change them directly on the device. This only happens if we need to configure our equipment to pass the IP through the DHCP server, because that is when our ISP's router provides all the data, including that of the DNS servers. For these reasons, among many others, we recommend that you always replace your operator's router with the one you have purchased,
Then we will make a guide with some very simple steps for you to change DNS in your Windows operating systems. Note that, you can put the DNS servers you want, the most typical are to put those of Google which are: 8.8.8.8 and 8.8.4.4, although those of Cloudflare which are 1.1.1.1 and 1.0.0.1 also work very good. We recommend that you read our list of best DNS servers with policy without logs .
How can we change DNS server in Windows 10
In Windows 10 we have several options to change DNS, the first thing we need to do is access directly to » Control panel Using Windows' own search engine. Once inside we have to go in ” Network and Sharing Center “, Then we have to go to“ Change adapter settings ”. We can do all these steps directly by typing the command " ncpa.cpl In the Windows search bar and the network connections window will open automatically.
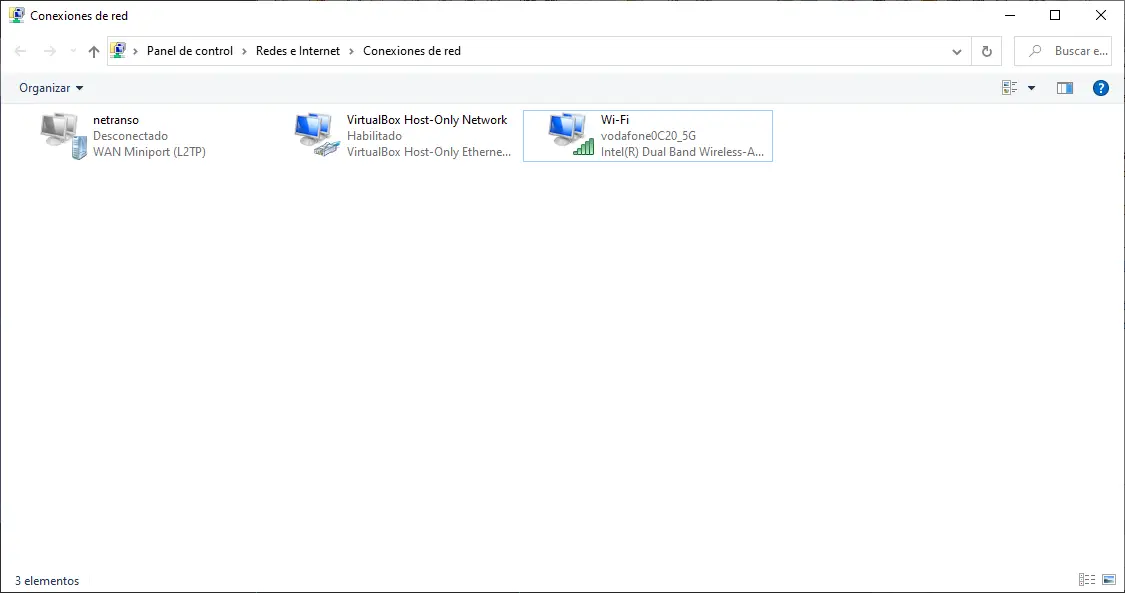
Once we are in the network connections window, we need to check which network connection we have activated, if we are using a Wi-Fi network, it will be the one that puts the Wi-Fi on, a quick way to see it is to look at the one colored in blue, the unused ones come out in gray and it becomes disconnected. Once we know which connection is active, we need to select it with the mouse, and with the right mouse button click and select the option that sets the properties.
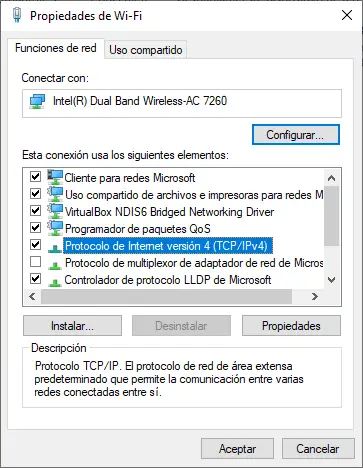
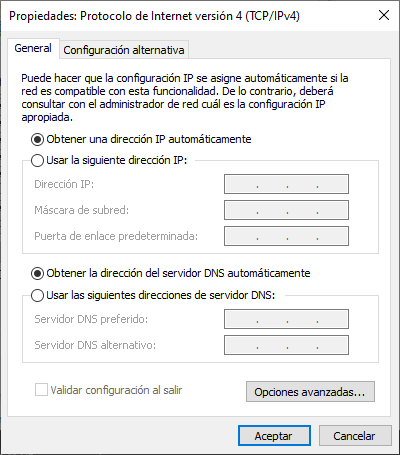
Now we need to select the section called "Internet Protocol version 4" and click on properties, then we need to mark the option that says " use the following DNS server addresses “, And we will be allowed to enter the preferred and alternative DNS server. We just need to write a different DNS server as preferred and alternative. The difference between the two is that the preferred will take priority, and the alternative will only be used if the first one fails.
Finally, once the DNS servers have been entered, all you have to do is click on "Accept". With that, we would already have other DNS servers configured on this computer.

As you can see with the command shortcut ncpa.cpl , this is a quick way to access network properties directly. The quick way to switch DNS servers is to use the popular PowerShell. In RedesZone we have a Full tutorial on how to change DNS server in Windows 10 using PowerShell .