How to encrypt internal and external hard drive on Mac so that your data is always protected? Step by step guide
Generally, encrypt or encrypt information consists of hiding the content of a message from the naked eye , with the aim that a specific interaction is necessary to discover the content in question. Either it's about data, files, messages or any type of information processed in the digital environment.
In this way, it is possible to encrypt the information contained in folders, individual files, and even discs . This will prevent unauthorized access by third parties and provide thus advantages based on the security and confidentiality of each user who chooses to encrypt an internal and external hard drive.
Fortunately, under MacOS , there is a feature responsible for supporting encryption of an internal and external hard drive so that users of said operating system can always protect their data. Therefore, it is important to know what are the steps to follow for this and, in addition, to know what external tools and programs are useful to encrypt hard drive on MacOS computers .
Steps to encrypt internal or external hard drive in MacOS quickly and easily
If true, when an internal or external storage device is formatted, it can be encrypted and protected. by means of a password . As a result, via Disk Utility on Mac, the users have the power to encrypt a hard drive, by default, so that it is accessible with a certain key, in a unique and exclusive way .
Thus, it should be noted that, if you decide to encrypt an internal hard drive , you will need to enter the corresponding password to be able to access the device and, of course, the information stored on it . Additionally, if you choose to encrypt an external reader , it will be necessary to enter the password once the device is connected to the Mac machine .
Now, after clarifying the above, we proceed to mention each of the given steps to achieve encryption of internal or external hard drive in MacOS correctly, quickly and easily:
Make a backup
Since the process of encrypting any hard drive on Mac requires formatting , it is important that you made a backup of all data on the hard drive before starting . Especially if this storage device contains files that you prefer to keep over time .
Basically it can be done through another device or storage volume . Thus, once you have specified the procedure in question, you can use said storage device to copy the recorded information to its original disk.
Open Disk Utility on your Mac
Before accessing the application Disk Utility from your Mac , you must connect external hard drive if you want to perform this procedure for this device. But, if it is an internal hard drive, of course you shouldn't do it . Once done, open the aforementioned app and select the option "Show" , to click where it says "Show all devices" .
Choose the hard drive to encrypt
After the previous step, it's time to select the storage device you want to encrypt , directly in the sidebar displayed there. Taking this into account, you must know his specific name , in order to choose the one that matches without any type of error.
Delete the hard drive in question
Once you have found and selected the internal or external hard drive to encrypt, it is time to click on the "Delete" button which is in the toolbar or, failing that, click on "Delete" . Then it's time to enter a name for the volume .
Choose the scheme and format
Now you have to click on the drop-down menu called "Scheme" and among the options displayed there, you must click directly on "GUID Partition Map" . Urban artist in the "Format" drop-down menu , you can select a specific encrypted file system format. Mac OS Plus (journaled) format is generally recommended .
Enter a password
Later you can enter and verify a password . At this point, it is recommended to grab an infallible and powerful key , in order to provide much more security to internal or external hard drive. When you do this, click on "Select" . On the other hand, if you prefer to change the password later (for whatever reason) you just need to select volume in the sidebar, then from click on "File" and there, from choose the option "Change password" .
Access security options
If available, as an option, you have the option of using the existing controller in the "Security options" section to choose how many times you want to overwrite the deleted data (it is advisable to overwrite the data thrice ). Once you have selected this setting, it just click on "OK" .
It should be noted that the secure erase options are only available for certain types of storage devices. As a result, if the button called "Security options" is not on your computer , it means that the Disk Utility application does not have the ability to perform a secure erase on the hard drive .
Why should I encrypt my storage drives in MacOS?
"UPDATE ✅ Want to start protecting your internal and external drives by encrypting them in MacOS? ⭐ ENTER HERE ⭐ and learn how to do it FROM SCRATCH! ”
D’ an IT point of view , beyond hiding certain information with a password, the process of encryption or encryption data stored on a storage disk, consists in applying an algorithm associated with one or more keys in order to to transform them into a string of letters, numbers and symbols with no apparent meaning.
Now it will ask you what are the main reasons why you chosen to encrypt your storage drives under MacOS and to specify them, basically we will highlight the advantages that this brings. He has since referred to a security system much stronger than a password on the home screen of the computer .
Therefore, it is beneficial to encrypt an internal or external hard drive in order to ensure that no third party can view the data it contains . This way you will benefit from a greater privacy and security at the computer level . Since then, the encryption will prevent anyone else's access and even prevent possible identity theft attacks or any kind of risk caused by hackers .
List of the best tools and programs to encrypt your hard drive on MacOS computers
In addition to being able to encrypt a hard drive via the macOS-owned disk utility , the users also have the possibility of doing this kind of procedure from a software or an application which is dedicated to it.
Therefore, in this section of the article, we will mention 3 of the best alternatives to protect the data stored on your drives from now on:
FileVault 2

Basically it is a program built into Mac OSX Lion and later and listed as Apple's response to Bitlocker. This means that it consists of exclusive software for Mac and thus allows users of this operating system to encrypt entire disks to protect their data stored on them .
For this, FileVault 2 uses 128-bit AES-XTC algorithm , so it is really powerful. In addition, it is characterized by using the user's login key as the encryption password. However, it is not an open source solution and does not offer the possibility to create encrypted containers .
VeraCrypt
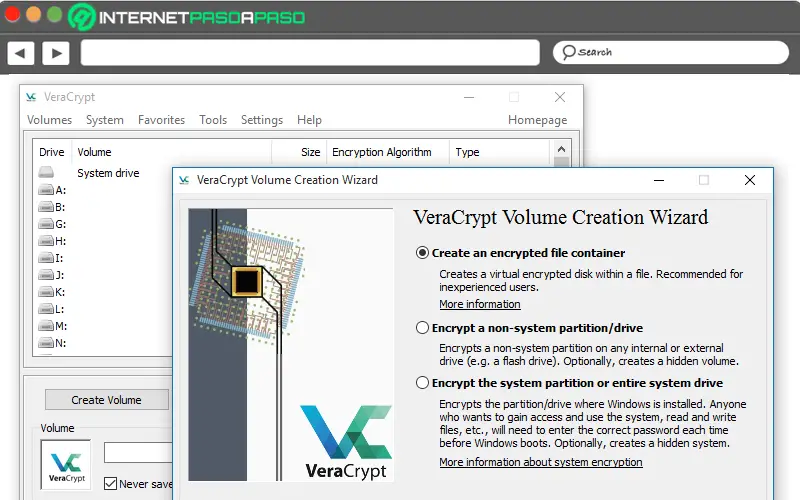
This free computer application is used to perform disk encryption , based on the use of different algorithms, such as: AES, Twofish and Serpent or even a mixture of these three. In this way, he takes into supports MacOS and Linux and Windows computers , it is open source and offers the possibility of creating encrypted containers.
Among other details, we note that VeraCrypt also offers the necessary tools to create an encrypted virtual volume in a single file or on a partition . In the case of external hard drive encryption, it provides pre-boot authentication for more security. It is available in over 37 languages, including Spanish.
Download VeraCrypt MacOS
CipherShed
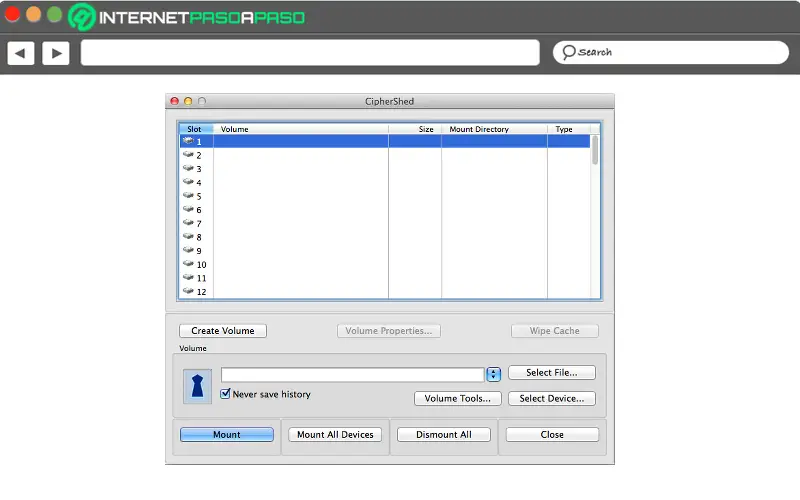
It is a program available for Windows, Mac OSX and Linux . Which, basically, allows you to encrypt entire disks or create encrypted containers and in this way, provides complete management to its users to guarantee the greatest possible security and confidentiality, around their internal and external hard drives. Moreover, he is free and uses hidden volumes, to allow credible denial.
Download CipherShed MacOS
If you have any questions, please leave them in the comments, we will get back to you as soon as possible, and it will be a great help for more community members as well. Thank you!