How to Convert Lightroom Presets to Instagram Filter Easily
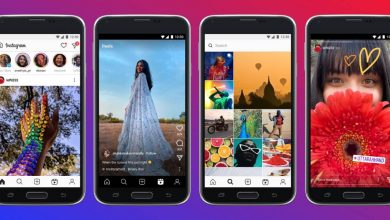
Instagram is a social network that evolves over time, its filters are unique and able to erase any negative effect you have on your photo, but did you know that you can convert Lightroom presets to Instagram filter ? In this article, we will help you do it very quickly and easily.
How do I create and convert a Lightroom preset to an Instagram filter?
You will need to have certain requirements for have an Instagram filter unique and original: First of all, you will need an active computer to download a program that will allow them to carry out the filter, then you must have your mobile phone to view your work.
Then you will have to download some programs which we will provide you later to create the ready Instagram filters, with these materials, let's get to work. And so you won't have to save filters that other users have on Instagram.
- Start by entering your computer and download all the files that appear in this link: https://fc.lc/filtrosinstagram How? When you enter, click download, it will send you to another page, click download again and it will automatically transferred to a compressed folder on your computer. You need to right click to unzip and a folder will appear where your filters will be reflected.
- Then search your PC for the program https://sparkar.facebook.com/ar-studio/
- As you enter, you will realize that there are types of filters where you can not only change the design or color of your image, but even the background of it if you want to.
- In a fourth step, you have to open your lightroom, find and import the already predefined image, then you can play with the colors or the filters previously established. When finished, close your program. You need to create multiple filters to make better editing.
- Enter again in the Sparkar program and instead of selecting the models, you need to click Open, and the project will appear.
- Almost everything is done, select the character you want to use, continue clicking on the left side where there are 3 filters previously arranged, you have to right click on it but to replace and select your first filter then you have to do even others you have.
- Remember that when you add an image, you need to click on the uncompressed option in order to transport your filter with the best quality.
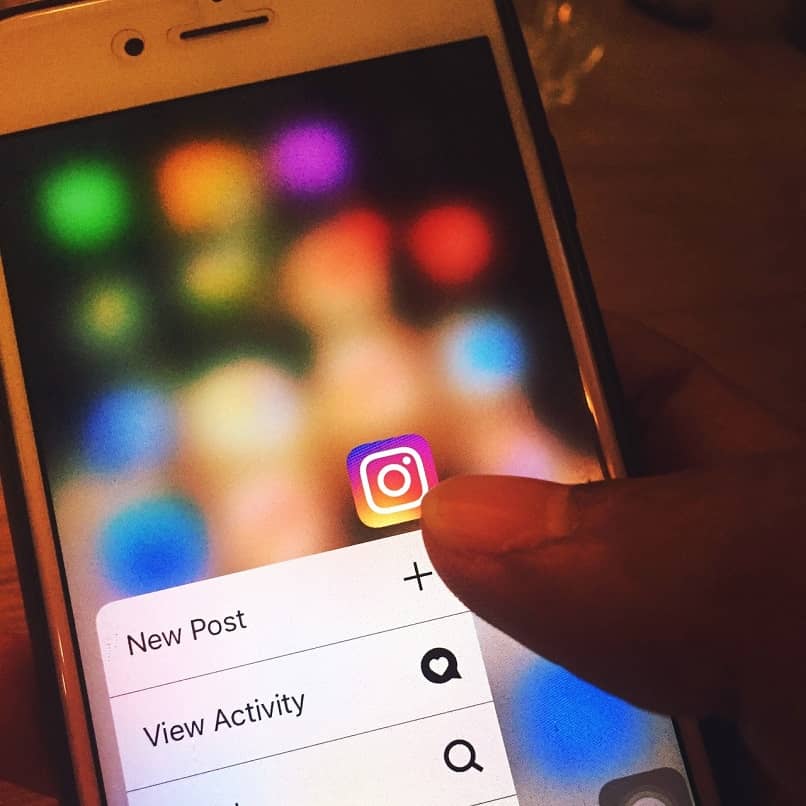
- Now go to the left part of the screen and left click on it and then select the download option, this way we will start the process of downloading our filter on Instagram.
- When you click download, you will be taken to a Web page the same where you can select the platforms on which you want your filter to be displayed. Click on Instagram and fill out the form that appears on this screen.
- At the end of this form you can place the option to preview your Instagram video, if you want to do this you must click on the upper right part to save, wait a few seconds and the option "open on Instagram" will appear with a link where you will be able to see it from your phone in real time .
- You can make a short video to let others know that you have this filter and save it to your PC. And you can download it by sending it.
One thing you need to be clear about is that the exam will last a few days; by Instagram by verifying that it meets their standards. There you go, you can soon count on your personalized Instagram filter for lightroom.
Why is it beneficial to create your own Instagram filters?
Create your own filters offers you unimaginable advantages; For example, you can reach more audiences by going viral, your filter will meet more important people who will promote you. And not only that, but you will create a trend on social networks; to be someone original in downloading filters and effects into your different stories .
Don't stop telling us how it helped you or create your Instagram filter. We hope you will share the information with more people and thus let us know.