How to display keystrokes on the Ubuntu screen with ScreenKey
Currently, a large number of people are creating video tutorials for uploading to platforms such as YouTube. But more than one deserves the use of a tool that allows you to show keys pressed on the screen .
This avoids the tedious method of transcribing commands into a notepad, which sometimes makes it difficult for viewers to read.
It should be noted that there are several options for each operating system, but for those using Linux, or specifically Ubuntu. Use of an external tool is recommended to perform these types of tasks.
Her name is ScreenKey , and although this is an abandoned program. Its free code has enabled the community of this OS to acquire its source and perform the updates necessary for its comfortable use.
That's why if you are interested in using this software for your tutorials and you don't know how to install or use it, keep reading this article.
Show keystrokes on screen via ScreenKey
Inspired by other programs that perform the same function, ScreenKey is an application dedicated solely to the display of the keys pressed on the screen in real time .
This is extremely useful for those who need to show a step by step of a specific activity or task. What he achieves by recording his screen.
However, this software does not have the accessory of save a computer desk. But if it is fully compatible with programs that perform this function.
As mentioned earlier, ScreenKey was a project abandoned by its developers at the start of its releases. Since its source code was released on the GitHub platform, different Linux users have decided to take it and release each of the updates until today.
Main features of ScreenKey
In order to meet the needs of the community, improve its functions and keep it constantly updated to perform the sample of keys pressed on the screen, they managed to establish the following characteristics:
- At the moment the program is kept loaded in GitHub, so this code can be downloaded, modified to suit the tastes of each individual and distributed as a new version.
- It has several customization options, including changing the font that will be displayed on the screen, its color, size and position.
- For users who activate more than one monitor for their computer, it offers the possibility of define a screen space during recording or a specific program .
- Once executed, it displays a notification to set specific usage parameters.
How to install ScreenKey and use its onscreen typing feature?
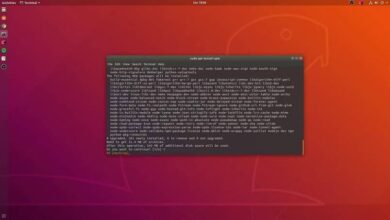
To acquire this program, you will need to download the free code found on the GitHub page via this link , the remote version of which dates from 2016, to the computer.
Once this file is in your storage. You need to double click on it and extract its contents to a specific folder.
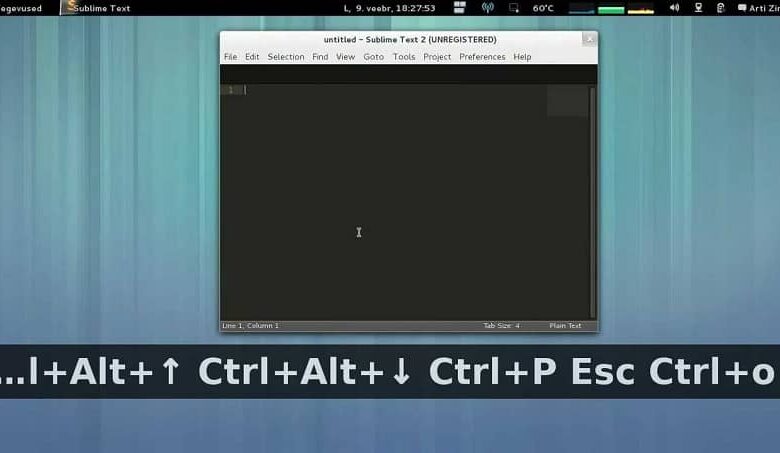
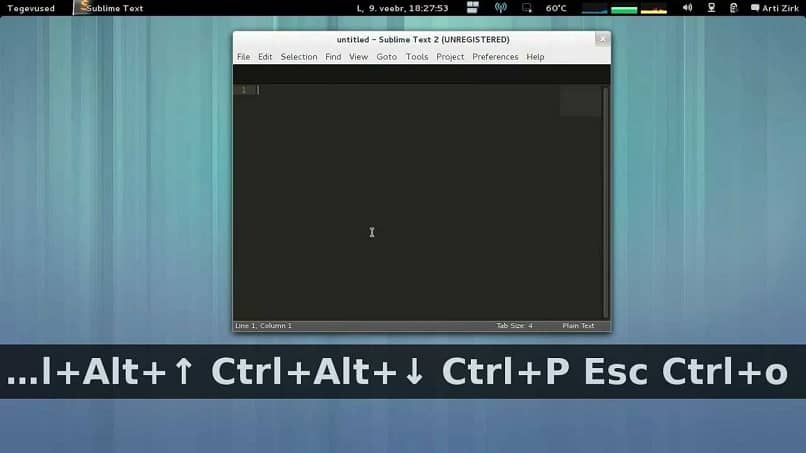
Among the content there, find the one with the name "ScreenKey" and open that file, which contains a folder with the name "Data". Where there is a program called " Screenkey.desktop Which must be launched via a text editor.

At this point you will need to perform some code editing, where you go change the path line "Exec" for the one where "Screenkey" is located. Usually located in the "Screenkey-0.9" folder.
At the end, you just need to save the changes and allow the execution of this file, via "Permissions". Like a program whenever you decide to use it through the launcher.
With this method, it is very easy to display the pressed keys on the screen to perform the video tutorials you need. Well, this program offers the necessary functions to achieve it.
That's why we thank the ScreenKey developers for allowing editing of their code. Well, it allows users to use this tool in a very useful way.