How to create an educational platform for a virtual classroom or a course in MOODLE - In a few steps
If we look at the past for a long time, they have taught people at home, with a tutor or a teacher specializing in the field, then the students entered schools where a teacher taught not only one person but a whole group of students and this is how the idea of the teaching has grown over the years. However, today everything is at a distance. This is where the concept of virtual education comes in.
Importance of virtual education
One of the main characteristics of virtual education is that it makes people more self-taught , because it is an effort towards the person, in addition to only receiving online lessons, you can also investigate more of what you have learned.
Virtual education is a challenge , it promotes the development of interpersonal skills, in addition to the fact that the student is motivated to continue his studies. It is important that all teachers know how to do virtual lessons as an alternative to face-to-face lessons.
We remind you that it is important that you know how to set up a virtual classroom in Google Classroom . Another very important option that you can consider is Zoom, and it is very easy to even learn how to give virtual lessons from your mobile phone.
How to create a platform in MOODLE
Step 1
First of all, it is extremely important that you read the Moodle documents found on its Official website . In addition, you must download the official installation zip, which contains all the files you need.
Then you will have to access the Bitnami page and download the server for Moodle . This server will do almost all the actions for us, and we will only have to click a few times. In this process, Bitnami will ask you for a username and password, as well as a name for your website.
Once the installation is complete, you need to make sure that the required conditions are met and that you are authorized to open the website as such on your own computer. To do this, you need to open your trusted browser and type in the "Localhost" bar. If the installation was successful, you will be greeted with a message saying “Moodle is ready to use.”
Step 2
Now, we need to start downloading our files and verify that the website can function by being hosted from our computer. To do this, we need to navigate to the folder where Bitnami is installed, which is usually located in Program Files.
Once you navigate to this folder, you can find a subfolder called HTDOCS. You need to delete this folder and replace it with the one called MOODLE , which is in the zip package you downloaded before starting the whole process. You will need to give it the original name of the folder you deleted.
Subsequently, you need to create a database so that your students can access the course through an official account provided by you. To do this you have to type the browser localhost/phpmyadmin, and this will open a server manager. You must check the box "Create a database" and include the requested data.
Step 3
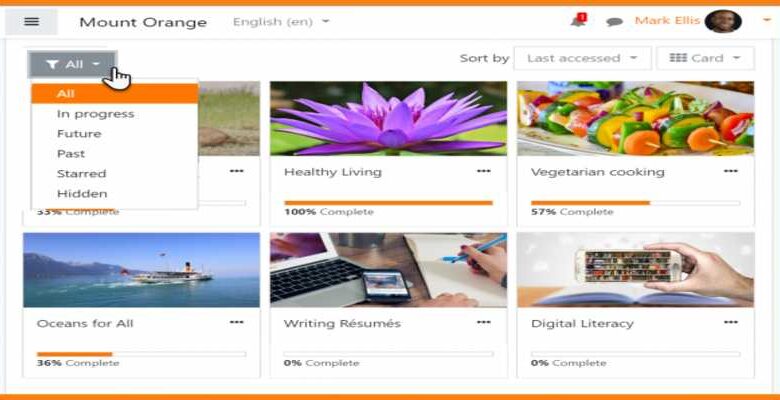
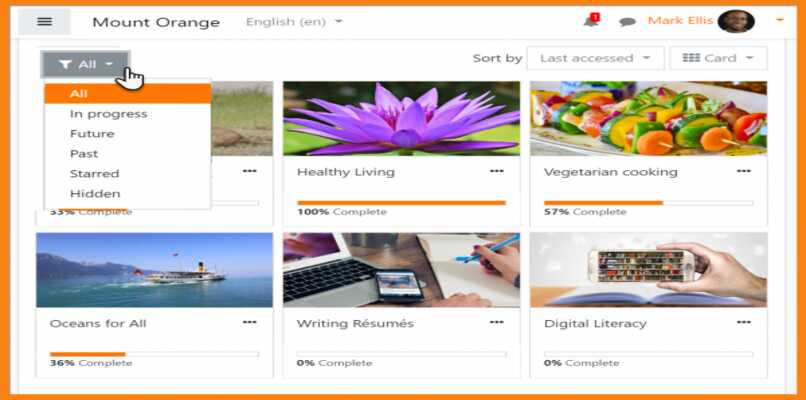
Now you need to go to your browser again and type in "localhost / moodle" to start the final installation . First of all, it will ask you to choose a language in which the platform will work.
Later, you need to make sure that the installation paths are correct, so that the server can easily and quickly access the required files. In addition, you must choose a database type . For this, we recommend the MYSQL option. If all of this worked, you will come to the last step.
In the latter, the installation checks that all the server requirements are met and shows you a page in which the terms and conditions of use of Moodle are displayed. Once you agree, it will show you another page in which all aspects of the server will be seen, which must all say "OK" . If they are all like that, click Continue and you can start doing the basic configurations after installing the Moodle server platform.