How to create or achieve a vintage, retro or antique effect in my photos with Photoshop

Today the images with a vintage or old effect are very fashionable, as if it were an old photo. The reasons why retro is now in fashion in this area may vary, but this effect can be achieved through the Photoshop program.
And this is not surprising because with Photoshop you can cut the hair from someone and even make her clothes transparent. Yes, you can really achieve a lot of effects and without spending so much time on it and without being professionals in running the program.
That is why in this guide we will teach you how to create or achieve a vintage effect , retro or old in your photos with Photoshop. So if you want to learn, keep reading the following very simple steps carefully so that your next photos are as much as you want them to be.
How to create or achieve a vintage, retro or antique effect in my photos with Photoshop
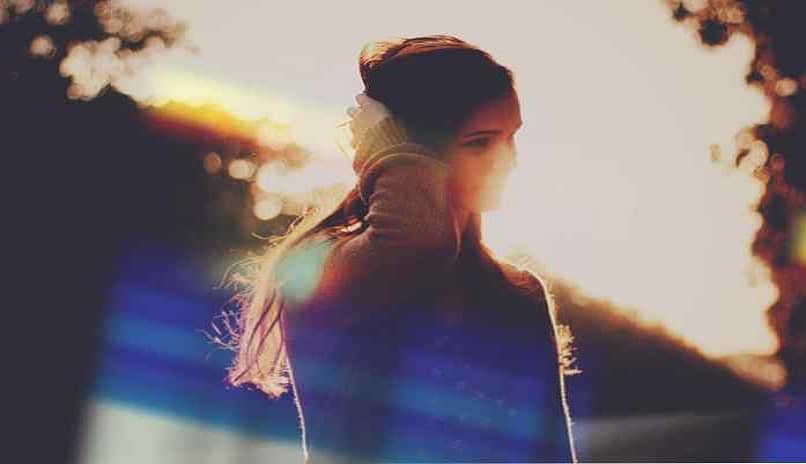
The vintage, retro or old effect has some peculiarities that today with new cameras and their technological advances have been lost. For example, the photographic noise, low contrast, yellow tint and vignetting are some of the elements that give photos an antique look.
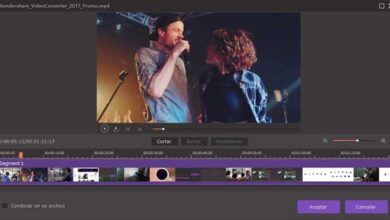
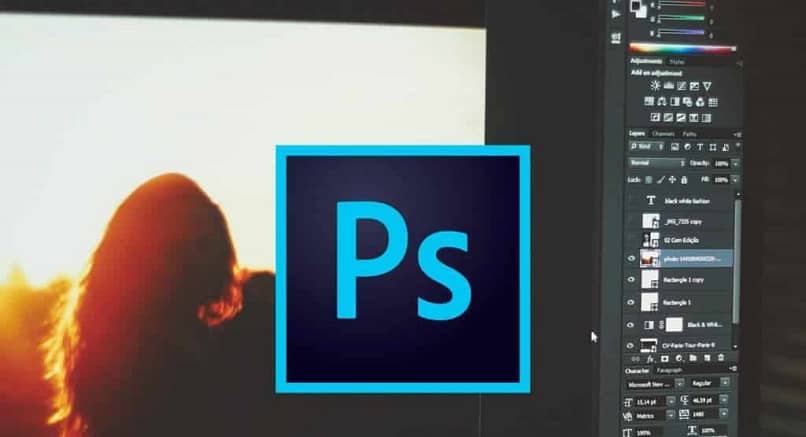
Using Photoshop image editing program, many have manipulated the toolbar of a way that creates a desired look in their photos. So if you already have Photoshop légalement , carefully read the steps below to achieve the vintage, retro or old effect:
Steps to achieve a vintage effect
What we'll do first is choose a photo to edit, then we'll create a new curve settings layer on it:
- You open the » Menu " from the program
- You go to the option " Settings »
- Click on " New adjustment layer »
- And finally you choose the option " Curves ».
- One way to achieve the goal in photos is to make the color curve changes separately. When working with the blue channel, it is advisable to apply the harshest effect, although with the green channel there should be minimal variations.
- You can also create an adjustment or fill layer , for example, you can choose a dark blue color and the image is completely covered. Then you go merge different layers , you will achieve this by pressing the option Exclusion which is located at the bottom right of the screen.
- After choosing a turbidity level based on what you want, you move on to the step of adding noise to the photo. This is achieved in the way Filters> Noise> Add noise , then you choose a percentage of vintage appearance that we want, between 7% and 10% .
Steps to achieve the retro effect
Photoshop's variety of options is wide and you can even get a retro textured effect on your photos:
- After opening the photo to work on it, go to File> Place Embedded Element and choose a texture photo from our team. After placing the texture on the photo in question, we go to the option of merging layers and select Overlay and the opacity level is set to 65%.
- Next, you're going to choose a new adjustment or fill layer, which would be Photo filter and we choose an intense yellow color, leaving a density of about 25%.
- Regarding the light effect , we use the brush tool and choose a white color that has 100% opacity and fluidity. The following is that its size almost looks like our picture.
- Once done, adjust the blur by going to the top menu following the path Filters> Blur> Gaussian Blur . While you're at it, you're going to choose an amount of blur of around 140 pixels.
Show off your photos with a vintage effect!
With these few simple steps, you can get this fashionable effect , call it vintage, retro or old. You just need to spend a little time applying them and see which one gives the look you want your photo to look like. Besides, you can explore other tools of this fabulous image editing program and become a professional.