How to create custom icons for your folders and shortcuts in Windows 7? Step by step guide
All computers have the option of customize included desktop themes , which includes changes in colors, sounds and even in folder icons and shortcuts .
In this way, the user can have a view of his equipment 100% adapted to his tastes or needs . In the event that the configurations included in your operating system are not enough or if you do not like them at all, you can resort to design your own icons and configure them on your PC.
In this sense, keep reading to learn to create custom icons for your folders and shortcuts in Windows 7 step by step . In addition, we show you the programs you can take advantage of and the dimensions you need in your designs.
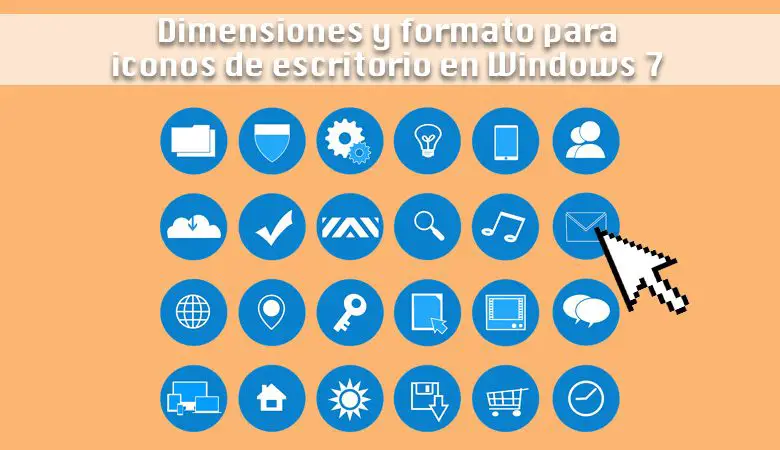
What are the correct dimensions and format for Windows 7 desktop icons?
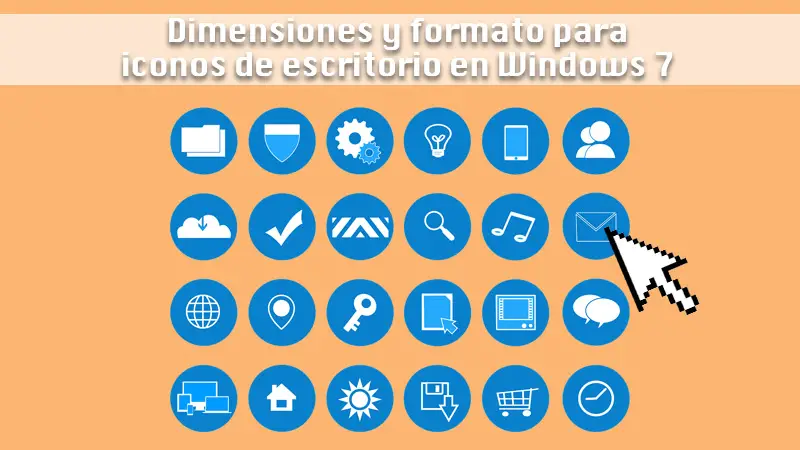
Before starting to make any type of design, it is important to be clear about the dimensions and formats that they must have in order for them to be compatible with what you are looking for. In the case of Windows 7 desktop icons , you have to take into account certain aspects to customize them.
Regarding the size, you can work with four types:
- Very small: 16 x 16 px
- Small: 24 x 24 px
- Medium: 32 x 32 px
- Queen: 48 x 48 px
For its part, regarding the format supported for icons on a color screen, it is recommended to use the X pixel map (XPM) , whose name usually has the suffix ".Pm". In all other cases, use files in the format X Bitmap (XBM) which have the suffix ".Bmp".
Learn step by step how to create a custom icon for your folders and shortcuts in W7
If you don't like the default Windows icons and want to have a much more personalized one, know that you can achieve this using design tools . On the one hand, we will show you how to create it with Paint , which is the easiest way to achieve this.
Apart from that, we will also show you below how you can do it using slightly more advanced editing programs:
In the painting
The option of creating icons using Paint is very effective, especially for people who don't have much experience with slightly more advanced programs. The most interesting thing about Paint is that you can even the draw and get an attractive result in a few minutes .
In this sense, the step by step to create icons for your folders and shortcuts in Windows 7 with Paint, is as follows:
- Open a new file in Paint.
- We recommend that it be 256 x 256 pixels . However, you can make it larger, but be aware that the icons must be exact squares, so the width and length will always be the same.
- The next step is to display the grid of so that everything remains in symmetry. Go to the tab Displays and Signage and check the box in the section Grid .
- Choose the pencil, brush or pen tool and start drawing your icon. Likewise, you can choose the color you prefer for your strokes and even add textures.
- Once the drawing is ready, you can put text there if you prefer. To do this, select texts in the toolbar. Keep in mind not to overload the text icon, as visually it can look bad.
- When you are satisfied with your design, save it in its original size because it helps you to cut it in the future and not lose quality. The format to be saved is ".Bmp". Then reduce the size to 32 x 32, which is the default for all Windows icons.
- After having reduce the size and set the format , you must enter "Save as type" and write the name followed by the suffix ".Ico". Specifically in these cases, you have to write the whole name together, like “Menuinicio.ico”.
In Photoshop

Creating an icon for Windows 7 in Photoshop is a very simple procedure, so you don't need to be a professional editor to do it. The steps to follow are similar to those you apply with Paint , so pay attention every step of the way to get a unique personalized icon for your desktop.
Let's see the steps to follow below:
- Enter Photoshop .
- Click on File then New .
- When the pop-up window appears, you need to make sure to place measurements de 256 x 256 pixels for the worksheet. It is recommended to work with these dimensions, to avoid distortions in case you have to cut it.
- After entering the measurements, click OK .
- On the left side of Photoshop , toolbar with which you can work on is displayed . We recommend that you use the tools of drawing to create the shapes, Fill for colors and, if you want to embed text, in the button texts .
- Once you have finished, you need to save the original icon in going in File then Save as .
- Then it's time to adjust the size of your icon by depending on the dimensions you are going to use. To do this, click on Edit then on Resize Image .
- In this section, place the new dimension that you want to use in terms of pixels. Use equal measurements in width and height to avoid distortion. For example, 256 x 256px measurements in images are reduced in the middle to 128 x 128 px, 64 x 64, 32 x 32 and 16 x 16 px .
- save icon with its new dimensions by going into File et Save as . Remember to change the name of the icon so you can identify that it is a different size from the original. This ensures that you don't delete the basic design.
- Save the image in BMP format and with the extension ".Ico" so that Windows the recognize as an icon.
If you want to create a file in ".ico" format, you need to open a picture of 32 32 pixels x . Then select File and Export as in the menu bar located in the upper left corner. Continue to save the file in ".GIF" format and close the image . To complete the procedure, open the Windows explorer and change the image extension from ".GIF" to ".ico" .
Steps to set custom icon in folder or shortcut in Windows 7
"UPDATE ✅ Do you want to design your own custom icons for folders and shortcuts in Windows 7? ⭐ ENTER HERE ⭐ and learn how TO SCRATCH! ”
Once you know how design your custom icon for your folders or shortcuts in Windows 7 , the next step is to define this design for each file .
It's a very simple procedure, and we'll explain it to you below:
- Right click on the folder for which you want to change the icon. Then go to Properties and enter it.
- Go to the tab Personalize their campaigns and, in the section Folder icons , click on the option Change icon .
- Automatically, a window with the available icons is displayed . In this case, to choose the one you have created, you need to search for it by clicking on Browse .
- When you have it, select it and press OK .
It's as easy as you can change the icon of your folders in W7 . However, keep in mind that the image must be BMP with the extension “.ico”. This way you avoid any kind of compatibility issue.
List of the best programs and tools for creating custom icons
In addition Photoshop and Paint , there are others highly effective programs and tools that help you create custom icons for your computer.
Here we present the 3 most popular in the field:
Illustrator

Illustrator is a much more advanced option for the design of folder and shortcut icons in W7 . It's a program Adobe , with which you can create all kinds of designs according to your tastes and needs. Inside you have access to brushes, pencils, lines, and plenty of other alternatives to create eye-catching icons. To get your 7 day trial you must enter "adobe.com/es/products/illustrator" and when you have completed your data your trial will begin.
Corel Draw
This program is one of the most widely used illustration creation software in the world. Thanks to it, you have a wide variety of pencils and brushes with which you can design your icon from scratch. Once done, you can add filters and other cool visual effects to it. Add to that, it even allows you to create images with 3D effects to make your office much more original. Remember that when you save your design you should use the format BMP .
Download Corel Draw Windows
simplylcon
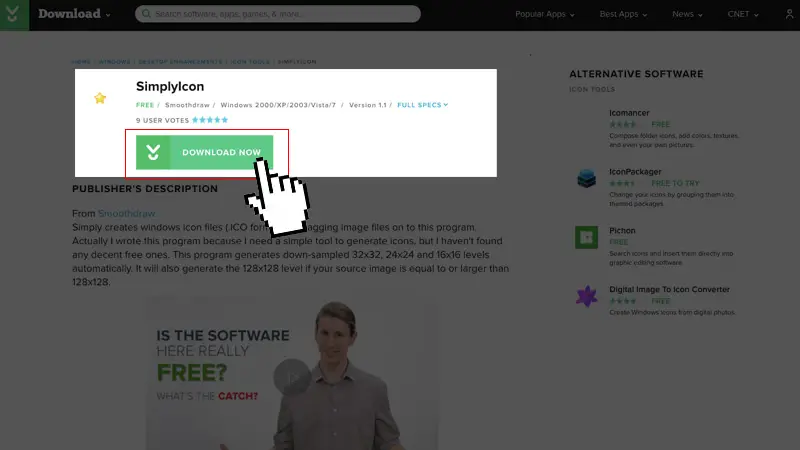
It's handy software of very good quality with which you can realize your icons without problem to personalize your desktop. This means that you can create different designs in ".ico" format to be compatible with W7 .
An interesting fact is that it does not require installation to work. In this sense, you just need to download it to your PC and when the program window pops up on the screen, you need to download it to your PC. drag on the image you want to convert to icon . simplylcon will generate an icon to from that and save it in the source folder of the photo.
Download SimplyIcon Windows
If you have any questions, please leave them in the comments, we will get back to you as soon as possible, and it will be a great help for more community members as well. Thank you!