How to easily create an album with the Windows 10 photos app

Taking photos is one of the best ways to capture moments in time that will be remembered throughout our lives. Have a camera, that you take pictures as a hobby or professionally, is one of the best things you can do.
In the past, people would take many photos and save them in photo albums which are books where you can have all the photos you take. But with the advancement of technology, that has changed and people can create virtual albums and save their pictures to them. Even being able to organize pictures and photos by size in Windows .
In fact, Windows with its Photos app gives you the ability to create your albums and add covers of very simple way so that you can see them whenever you want. You don't know how to use this feature of Windows 10 ? Don't worry, we'll help you create your albums so that you can save all the photos you want.
Just follow the steps that we have prepared in this article that we have prepared to show you how to create these albums. You will see that it is not difficult to create them and after reading this article you will be able to make all the albums you want.
What is the photos application?
Before continuing the explanation, we will first tell you a little about this Windows 10 app called Photos . You will thus have a broader vision of the subject and you will be able to know more about this formidable tool of this operating system.
Photos is an application developed by Microsoft for its operating system Windows 10 which aims to be the default media player on your PC. This application is very useful since it allows you to play any media file and edit images with its edit panel.
Having photos will make your life easier since its interface is very comfortable and offers you multiple options for your images. One of them is to create albums with your photos so that you can view them or even do presentations with them.
The procedure for creating these albums is very simple and in this article we will show you how to do it. If for some reason you don't have this app on your computer, download it from the Windows app store to follow our steps.
How do I create albums with the Photos app?
If the application Photos is already installed on your computer, we can begin to explain how to create albums. It is not at all difficult, you just have to follow our advice and you will see that in a two by three you will already have the knowledge to do it.
Step 1
The first thing you will need to do to create an album is open the Photos app on your PC so that you can follow our steps. All you have to do is go to Cortana or the search engine in the bottom bar and type in "Photos" to get the app.
Step 2
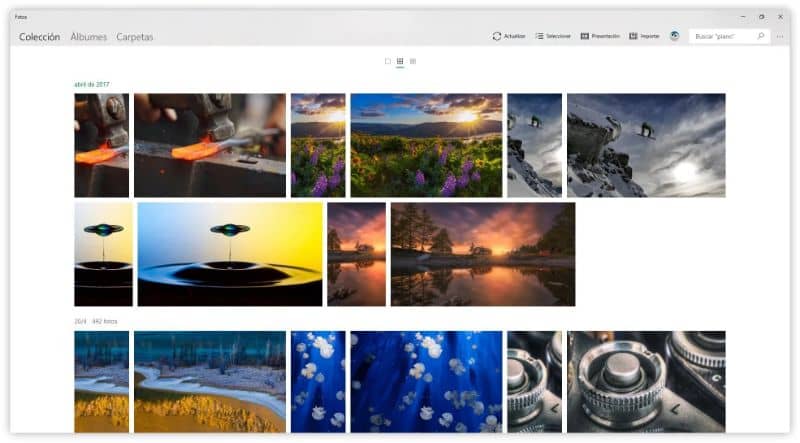
Once you are in the app, you will be able to see in the central panel that there will be all the images that you have saved on your PC. The option you should look for when creating your album is the section with the name "Albums" which should be at the top left.
Step 3
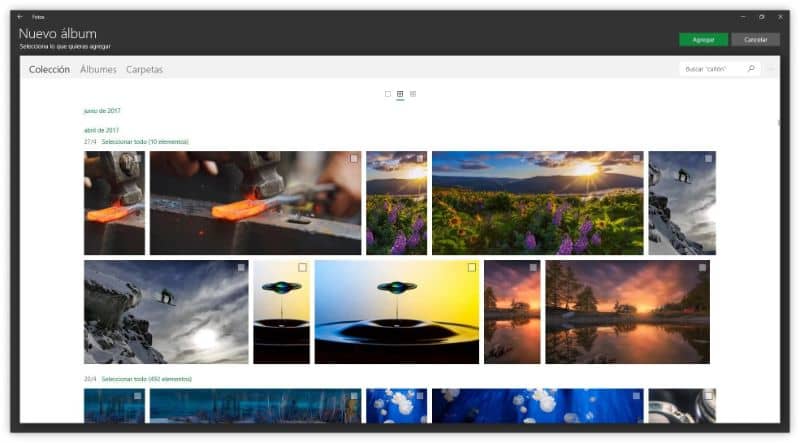
In this section you will find all your albums in case you have any and there will also be the possibility to create a new one. You just need to select the images you want add to album and press the "Add" button and your new album will be created.
It was not difficult at all, we hope you had no problem following the steps we provide in this guide. You can surely create your album without any problem and now you have the knowledge to do as many as you want.
All you have to do is give it a name so that your album is ready and if you wish you can also edit other things like the animation of the transitions. A very useful feature of this app is that you can share your albums on the social network.
So learn how to use this great application that Windows provides you well and you will see that it will become a great ally that you can use on your PC.
You may also want to know how to share an entire album of photos and videos with Google Photos .