How to create a web page step by step
In this guide you will learn how to create a web page step by step at starting from scratch, being a complete beginner and just a few clicks away.
Having your own website can make all the difference when promoting a product, service, or just about anything. That is why you cannot ignore this topic if you are serious about increasing the exposure of something in particular.
Whether you want to build a website for yourself or for your business, you can easily do it if you use the right tools and resources.
Once you complete this guide, you will have a fully functional online website with a personalized domain name that is fully accessible to others.
Let's start!
Requirements for creating a web page
1.- Domain name (your personalized web address, www.tupaginaweb.com)
2.- Website Hosting / Web Hosting (service that hosts your website)
3.- Platform to create a web page (CMS / Content Management System platforms, such as: WordPress, Joomla, etc.)
In this guide, we will be using 2 platforms to build a webpage from scratch. These platforms are: Bluehost et WordPress...
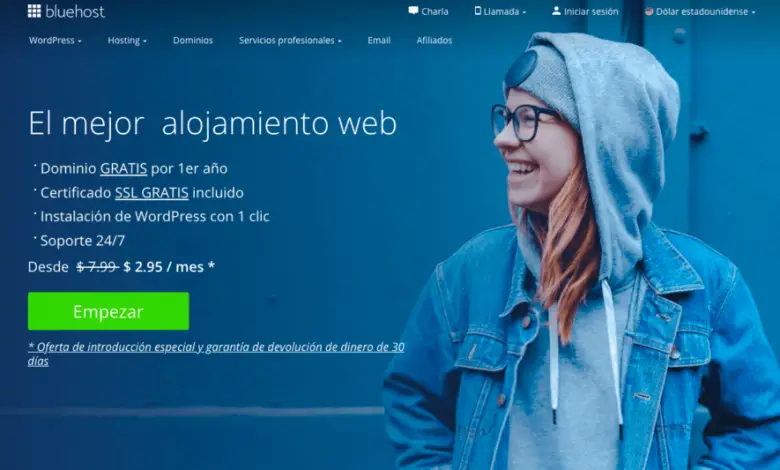
1.- Bluehost
This platform will help you register your domain name and get web hosting (among others).
Bluehost stands for quality. Moreover, this platform is really cheap and easy to use (perfect for beginners).
2.- WordPress
WordPress is a CMS (Content Management System) platform 100% free open to all audiences. It is without a doubt one of the best and most important tools for building a free website.
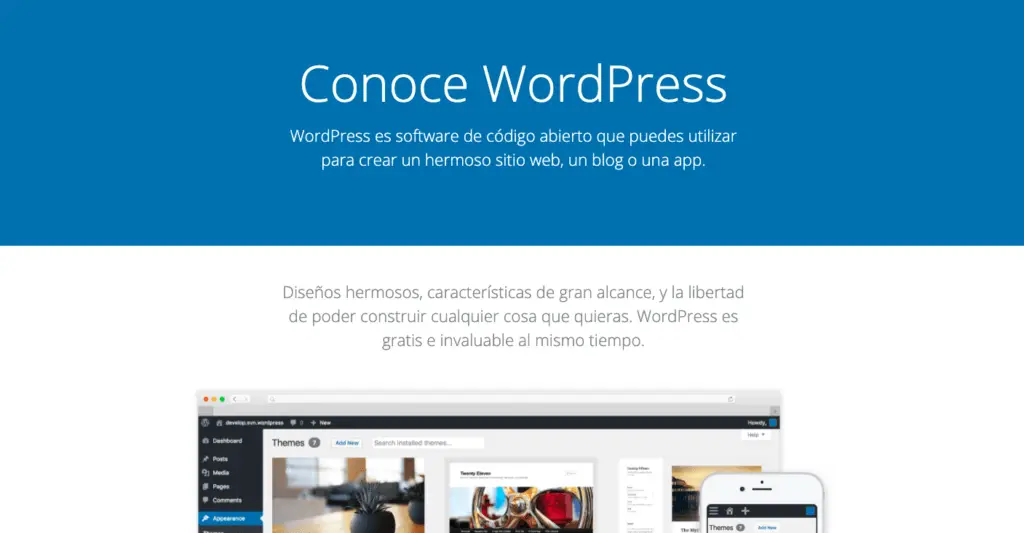
The proof is that approximately:
35% of all websites in the world are built on WordPress.
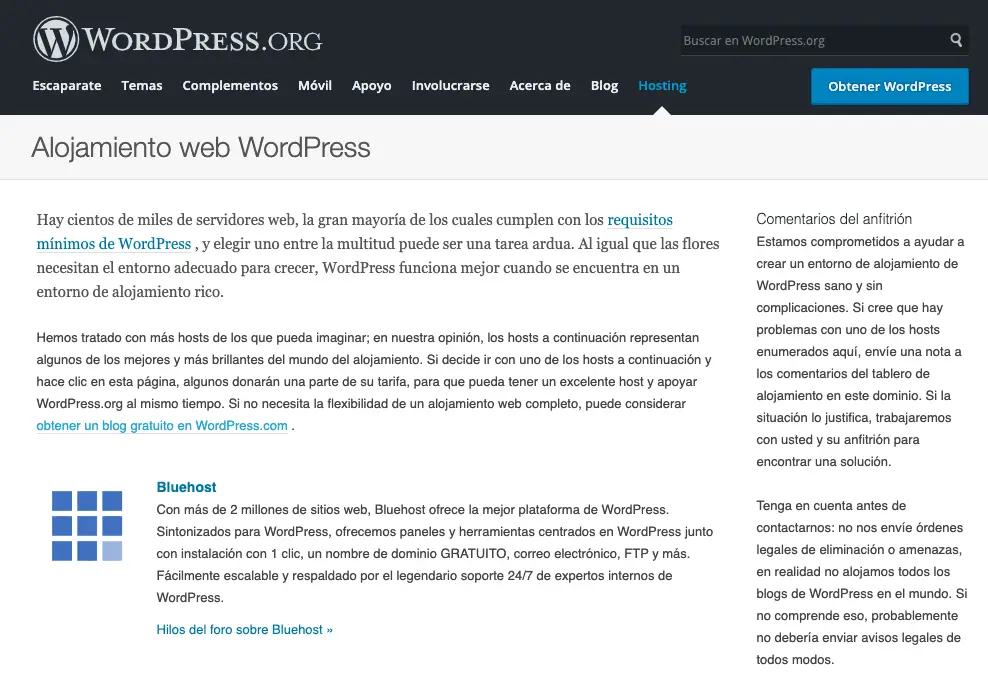
Alliance between Bluehost and WordPress
Bluehost and WordPress work together, so it's very easy to set up a website and very inexpensively ...
In fact, WordPress openly recommends Bluehost, as the following picture shows:
How to create a website in WordPress?
Once you have a domain and web hosting, you can create a website in WordPress.
# 1: Choose a domain name
To create a web page, the first thing you will need is a domain name. The domain name is the name and address of your website. Visitors use this address when trying to find your site through their web browsers.
For example:
The domain name of this website is eltallerdelemprendedor.com. Yours can be whatever you choose (as long as it is available) ...
How much does it cost to register a domain name?
The price of registering a domain name is relative. It will depend on the host you choose and other factors ...
But to give you an idea, domain names can cost anywhere from $ 10 to $ 50 per year depending on the provider and the plan you choose.
Tips for creating a web domain name
If you want to create a website for a business, your domain name must match your business name.
On the other hand, if you want to create a personal webpage, you can use your name in whatever domain or theme you want your webpage to have.
Which extension should I use in my web domain?
Use a "generic" domain name extension such as: .com, .net or.org if your target is international visitors.
Use a "local" domain name extension (that of your country), such as.de, .fr or.ru if your target is local visitors from your country.
# 2: get hosting and a domain
In addition to having a domain, you will also need a hosting website Web (web hosting).
What is web hosting?
Web hosting is a service that hosts and stores your website files on a server secure that still works.
Without a web server, your site will not be accessible to others to read and browse.
Affordable and reliable web hosting for new websites typically costs between $ 3 and $ 10 per month. Less than a cup of coffee, but it's a big investment in the success of your website.
How to choose a web host?
Whichever web hosting company you sign up with, make sure it has the following characteristics:
1.- Free domain name with SSL certificate (for the safety)
2.- One-click installation for WordPress
3.- Accounts of personalized messaging
4.- Unlimited bandwidth or not measured (without traffic limitations)
5.- Customer Service, preferably live chat 24/24
If you find a website host that offers all of the above, you've probably found a good provider.
Why use Bluehost?
We recommend using Bluehost.com for web hosting and domains as we believe it is one of the best platforms out there.
Bluehost or offers free domain registration for the first year; And getting a domain name and hosting from the same company saves you time and money.
However, there are many web hosting platforms out there on the internet, so the decision is entirely up to you.
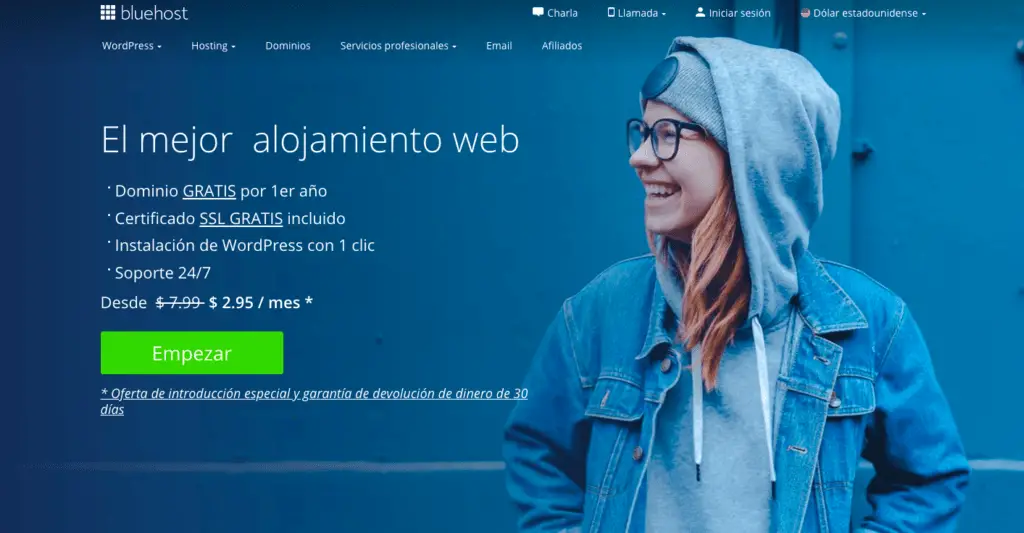
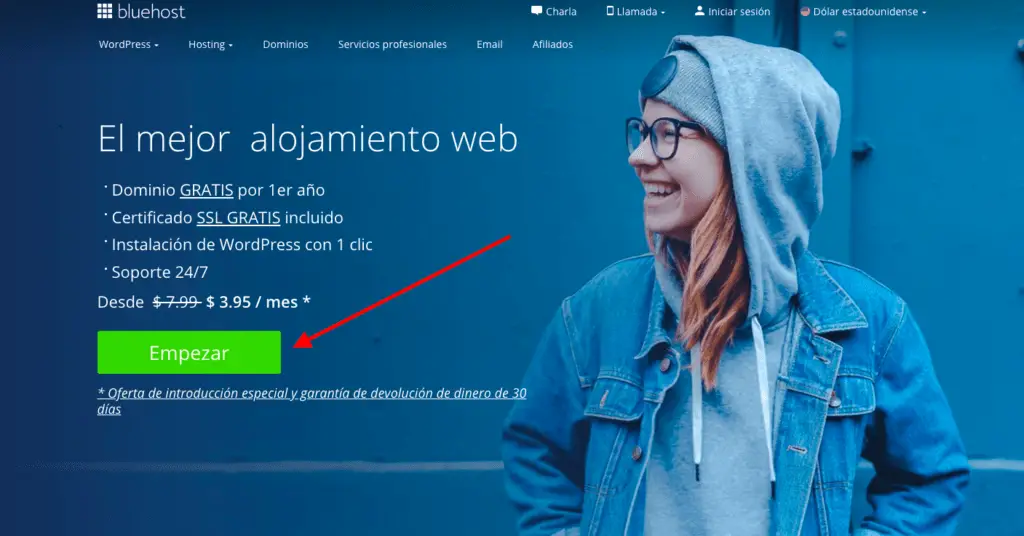
1) To get a web hosting account, just visit Bluehost And click Start as the following picture show:
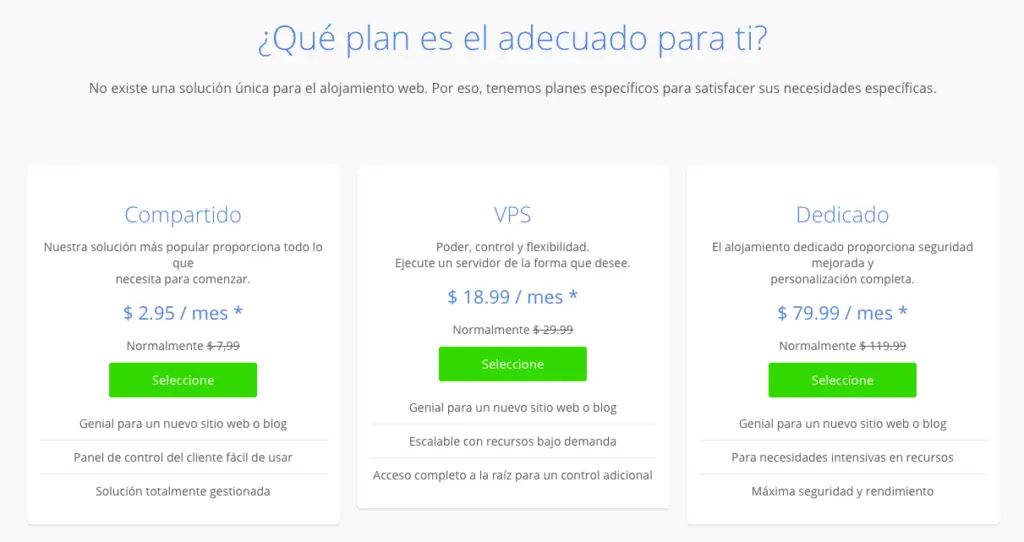
2) Then choose your web hosting plan (the plus option is completely unlimited, while the base is best for new sites):
3) Then choose a domain name:
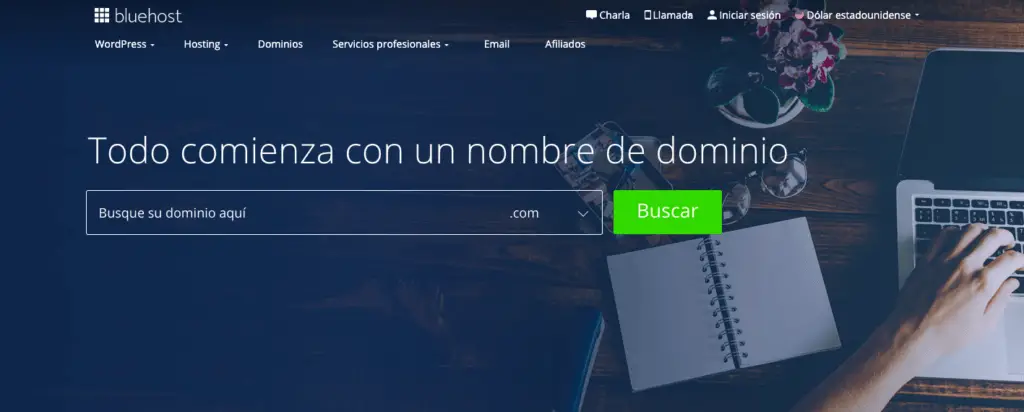
If you already have a domain name that you purchased elsewhere, Bluehost allows you to connect it to your new hosting plan.
4) Once you have completed your registration process, it will only take you a few minutes to get instant access, so you can start building your website right away.
# 3: configure your site in WordPress
Once you have your domain name and web host ready, you will need to choose and install a website builder platform (also known as a CMS).
We recommend that you choose WordPress because it is free, easy to use, and comes with thousands of free designs and plugins that make your website look professional and unique. Again, the decision is entirely up to you ...
How do I set up WordPress on my website?
Setting up your WordPress website is easy and your web host does most of the work for you, so you don't have to get your hands dirty.
If you're not using Bluehost as your host, don't worry. Many web hosting providers have a WordPress installation.
If you're dealing with a web server that doesn't provide one-click installs, remember that you can configure WordPress manually as well.
1) Installation of the WordPress site on Bluehost
Click on My sites then on the screen Create a site.

Provide some basic information about your site and the WordPress installation will begin. Everything will happen on autopilot.
Once the installation is complete, Bluehost will show you the installation and login details.
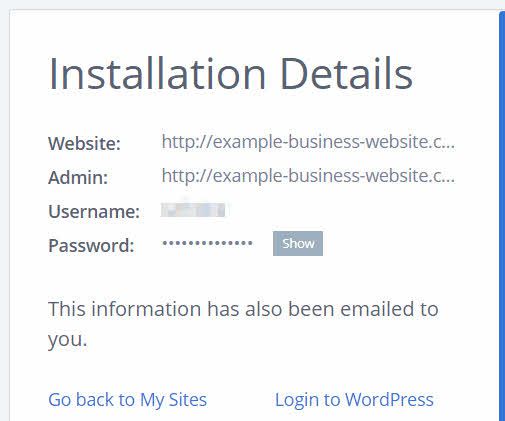
Make sure you keep this information in a safe place.
2) Test your website by entering your domain address
With WordPress installed, what you need to do next is test if everything is working. The easiest way to do this is to type your domain name into your web browser.
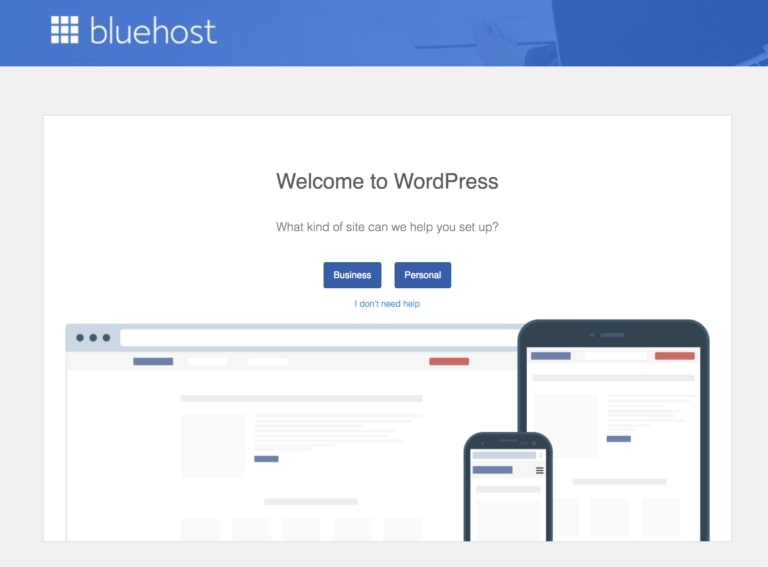
With WordPress properly installed what you will see is a very basic website as shown in the following image:
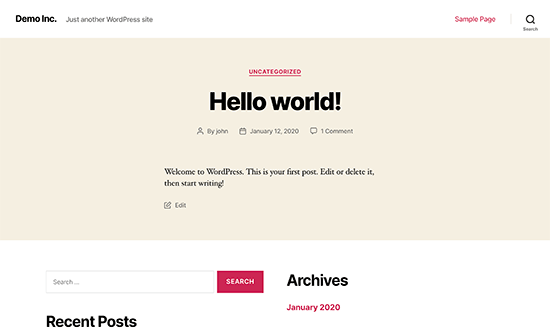
If that doesn't sound too appealing to you, don't worry, you'll soon learn how to change the design to something more appealing.
3) Check the SSL / HTTPS settings
An SSL certificate ensures that your website is delivered to your visitors safely. Bluehost automatically adds SSL when you create a new website or install WordPress. To check the SSL status of your site, follow these steps:
1.- Log in to your Bluehost account.
2.- Click on My sites.
3.- Find your site and click on Manage the site.
4.- Go to the tab Security.
Under Security certificate, you will find the status of the free SSL certificate.
If all went well, you should see a lock icon next to your domain name in the web browser.
It may take a few hours to configure SSL, but that shouldn't stop you from continuing to build your web page.
# 4: Site design and structure
With your website ready to go, now is the time to choose a nice custom design and add your branding elements.
Starting with:
1) Choose a theme for your website
WordPress themes are ready-made design packages that change the look of your entire website.
WordPress themes are interchangeable - you can easily switch between themes.
Free WordPress Themes
Most importantly, there are thousands of free and paid WordPress themes available on the web.
If you want to get a free theme, which most people like to start, the best place to go is the official theme directory on WordPress.org. In particular, the section of the most popular topics.
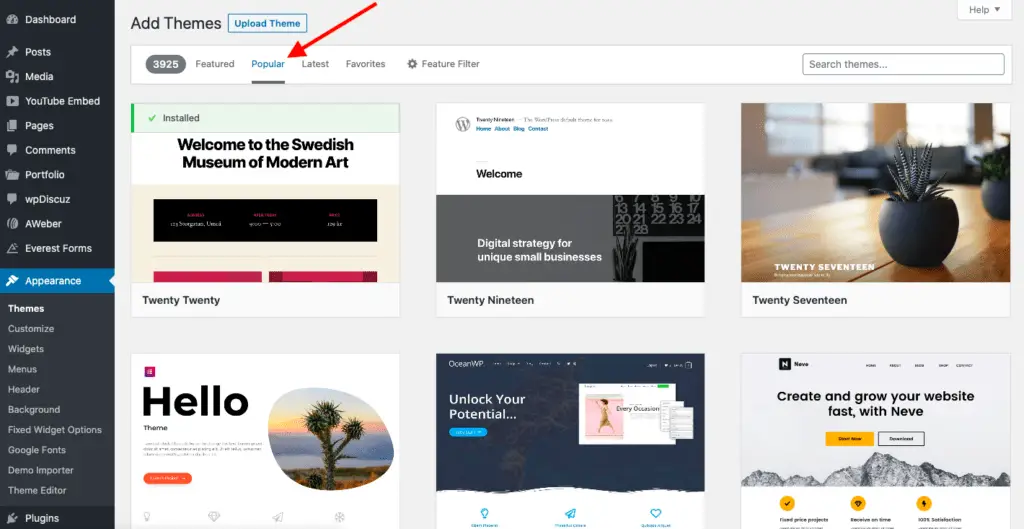
All the themes you see there have turned out to be of great quality and have a huge user base behind them.
You can browse this list and choose the topic of your choice. There are many options, so take the time to find the topic that works best for you.
Premium WordPress Themes
On the other hand, there are also many creators who offer Premium themes and plugins for websites built on WordPress ...
If what you are looking for is to start with a Premium theme, the truth is that there are plenty of possibilities as well. I can recommend you to try the elegant themes.

Elegant themes is one of the most popular theme makers among WordPress users. As its name suggests, its Themes are "elegant" ...
He is the creator of many professional quality WordPress themes. With these themes, you can be sure that your site will look great. They are also very easy to implement.
A good investment for any website
These types of themes are a good investment for anyone who wants to give their website a professional touch. Being a paid service, it includes features that free themes just don't offer.
With these kind of premium themes, you can quickly and easily create a simply beautiful and professional website.
Divi (Premium Theme Elegant Themes)
Elegant Themes is also the creator of Divi, one of the most popular themes among WordPress users around the world:

Divi features
- Drag and drop page editor.
- Custom CSS.
- Design options.
- Online text editing.
- Global elements.
- and further …
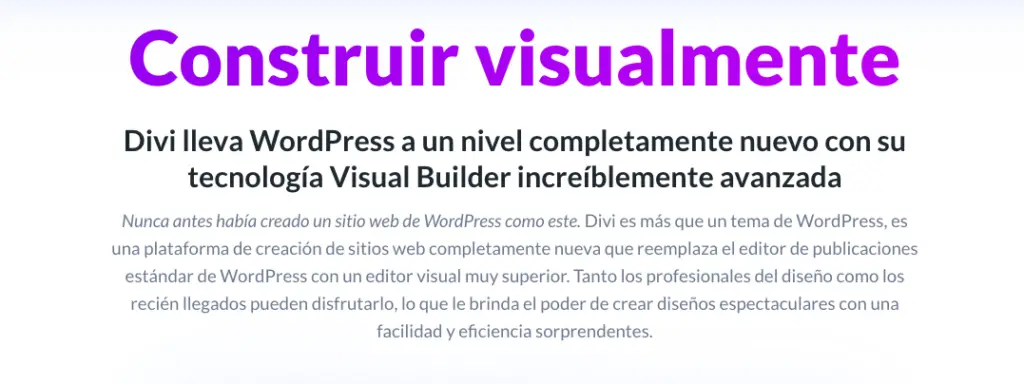
If what you want is to have a PRO site from the start, you can try the Divi theme completely for free and other Premium themes in accessing the Elegant Themes website.
2) Install the theme of your choice
Once you have chosen a WordPress theme, all you have to do is install it on your website. To do this, simply go to the section Appearence of your user panel in WordPress and click on Add new .
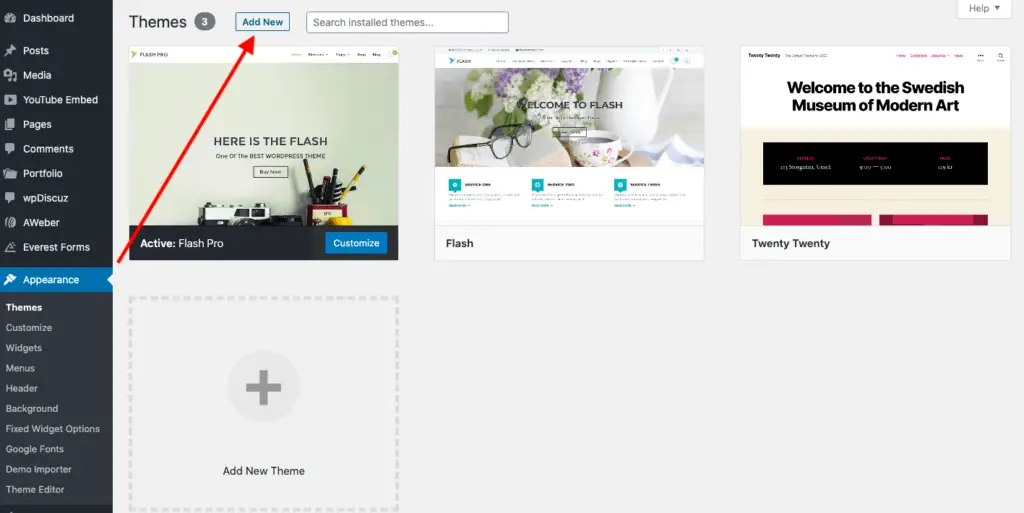
In the search box, type the name of the theme you want to add and see the free options available ...
Once the installation is complete, click on the button Enable which will appear instead of the button Installer.
You will see a success message, which lets you know that the installation went as expected (messages and processes may vary a bit depending on each topic).